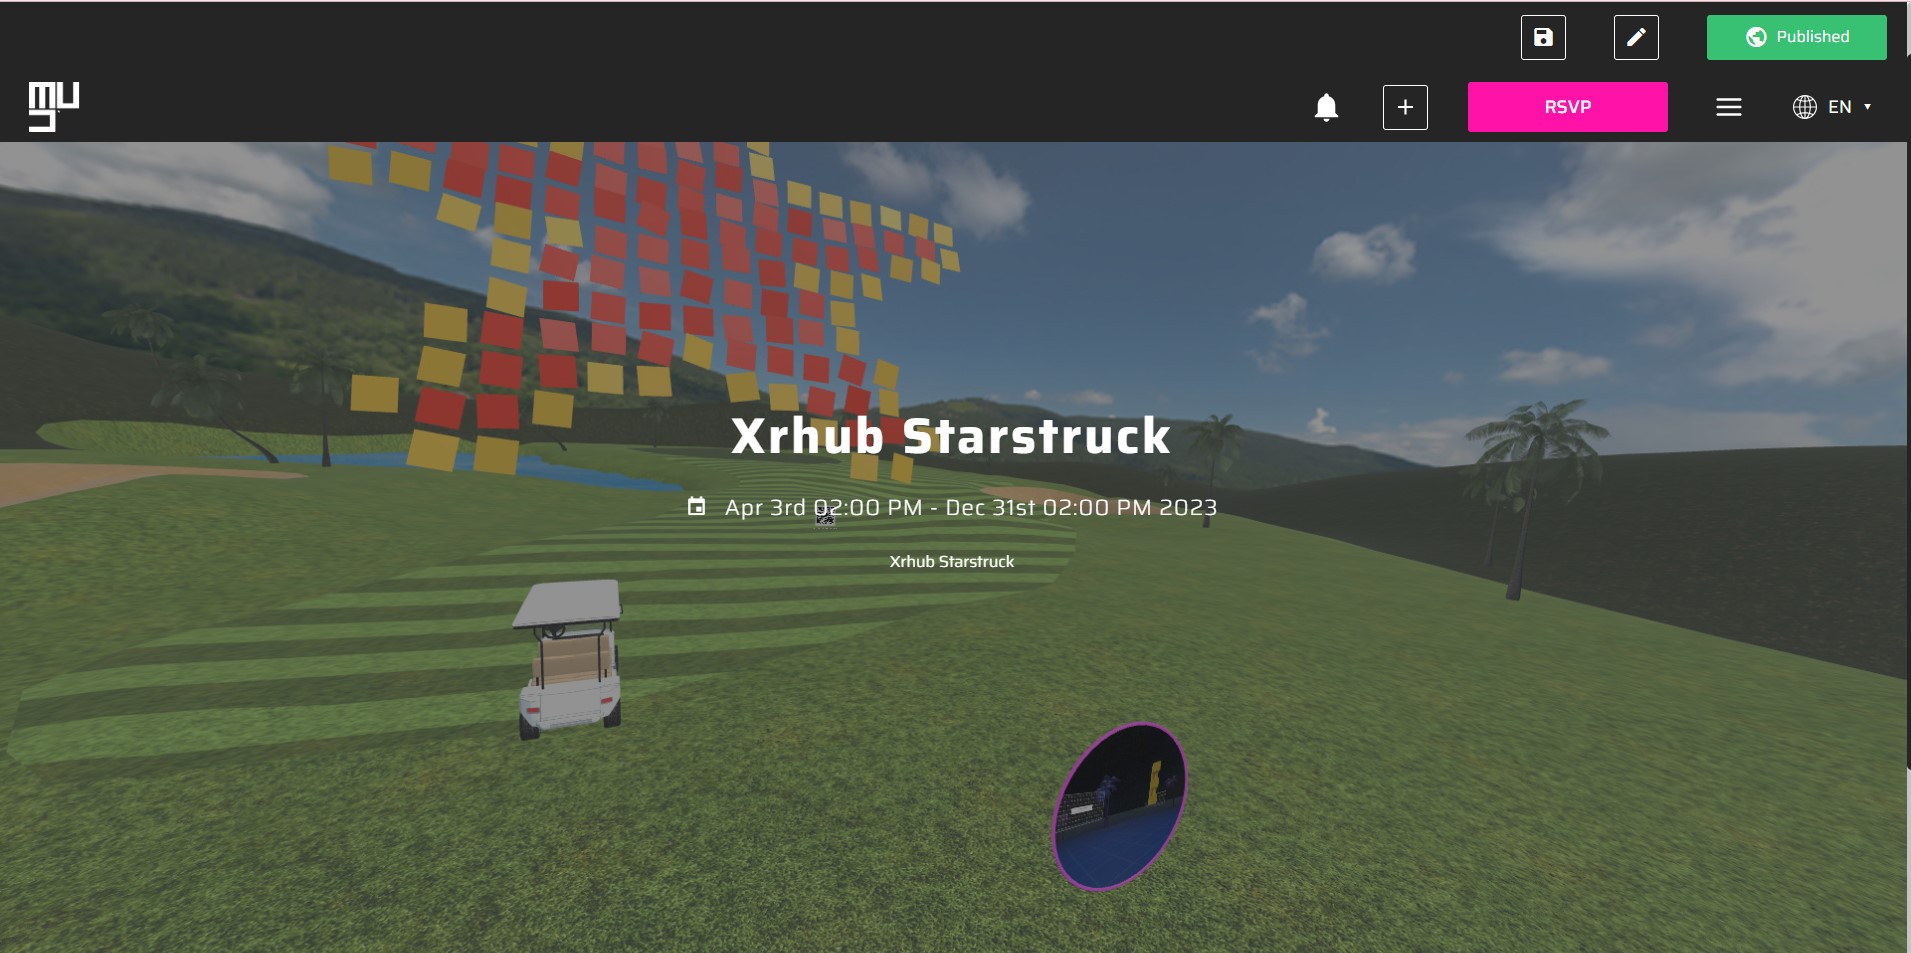
XR Studio
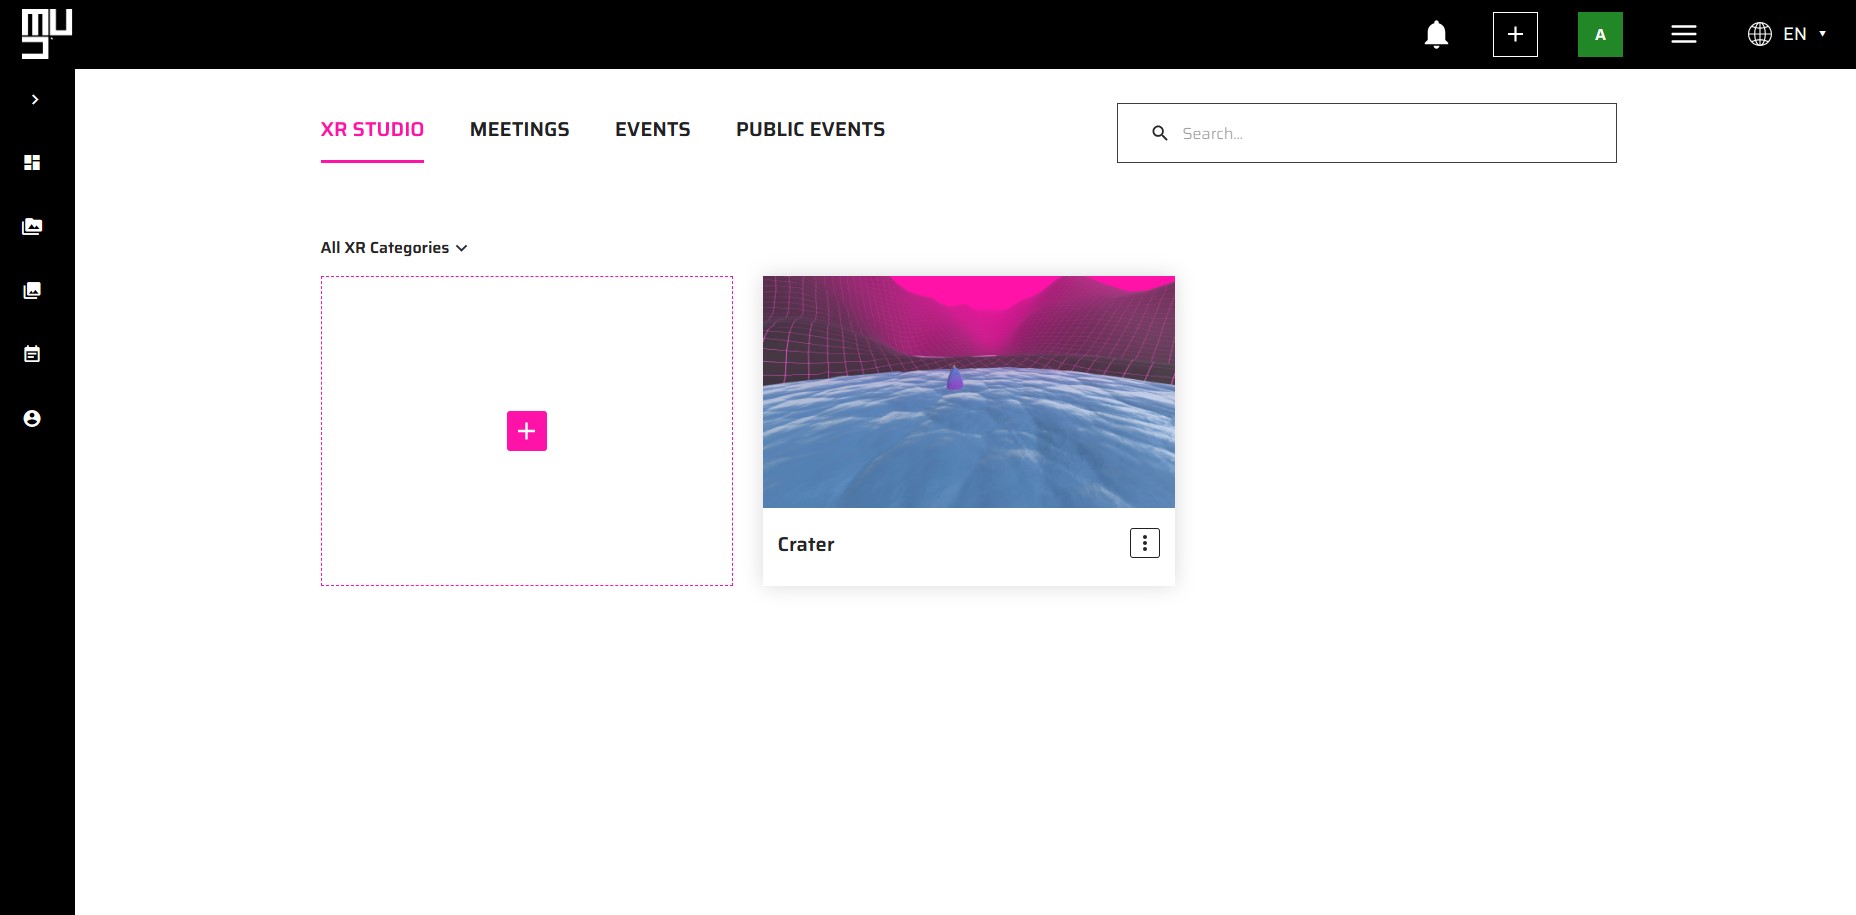
A new scene management system has been integrated to grant artists the ability to manage and view projects from the dashboard.
If you create and publish projects in the XR editor, they now will also appear in the "XR STUDIO" tab, facilitating quick access to create verses, manage your scenes, or edit them as you please.
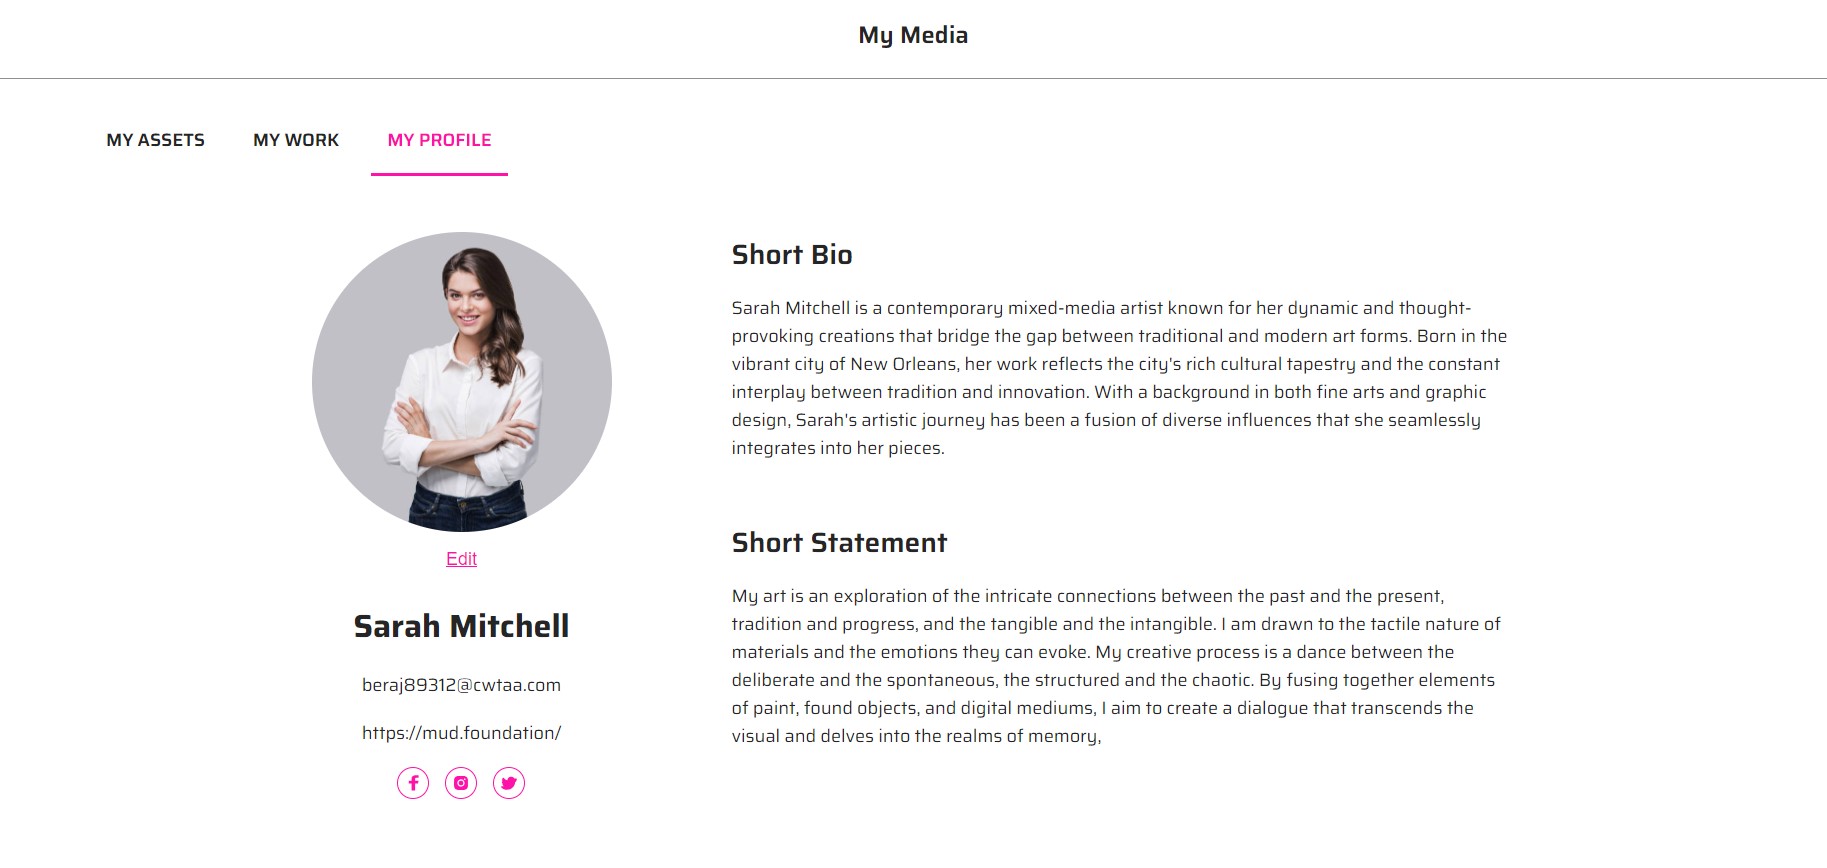
We also give artists the option to construct, edit, and review their profiles, including essential information such as artist biographies, statements, and ways to store their work: these encompass images, videos, audio clips, 3D objects, PDFs, and GIFs.
XR Studio tab
The XR Studio tab allows you to access the XR Creator and your projects, which include both the published scenes created in the XR editor and any projects generated with your account.
Artist profile
You have the ability to include a brief biography and statement within your artist profile, along with links to your social media accounts and website. This information is flexible and can be modified at any point.
How to Store Assets
To add assets, simply open the user dropdown and access "My Media". There, click the "+" button to open the file upload page.
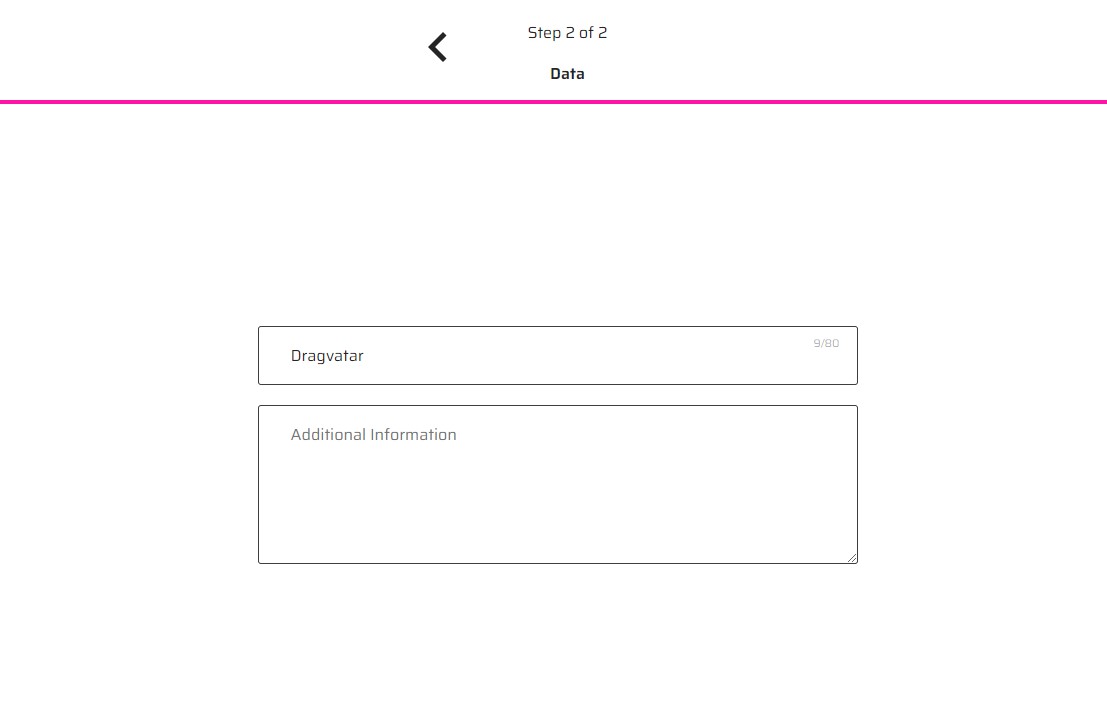
After selecting the desired file, you will be prompted to provide a name and description to distinguish it from other files.
Next, depending on the type of file, it will be saved under the corresponding tab for easy organization.
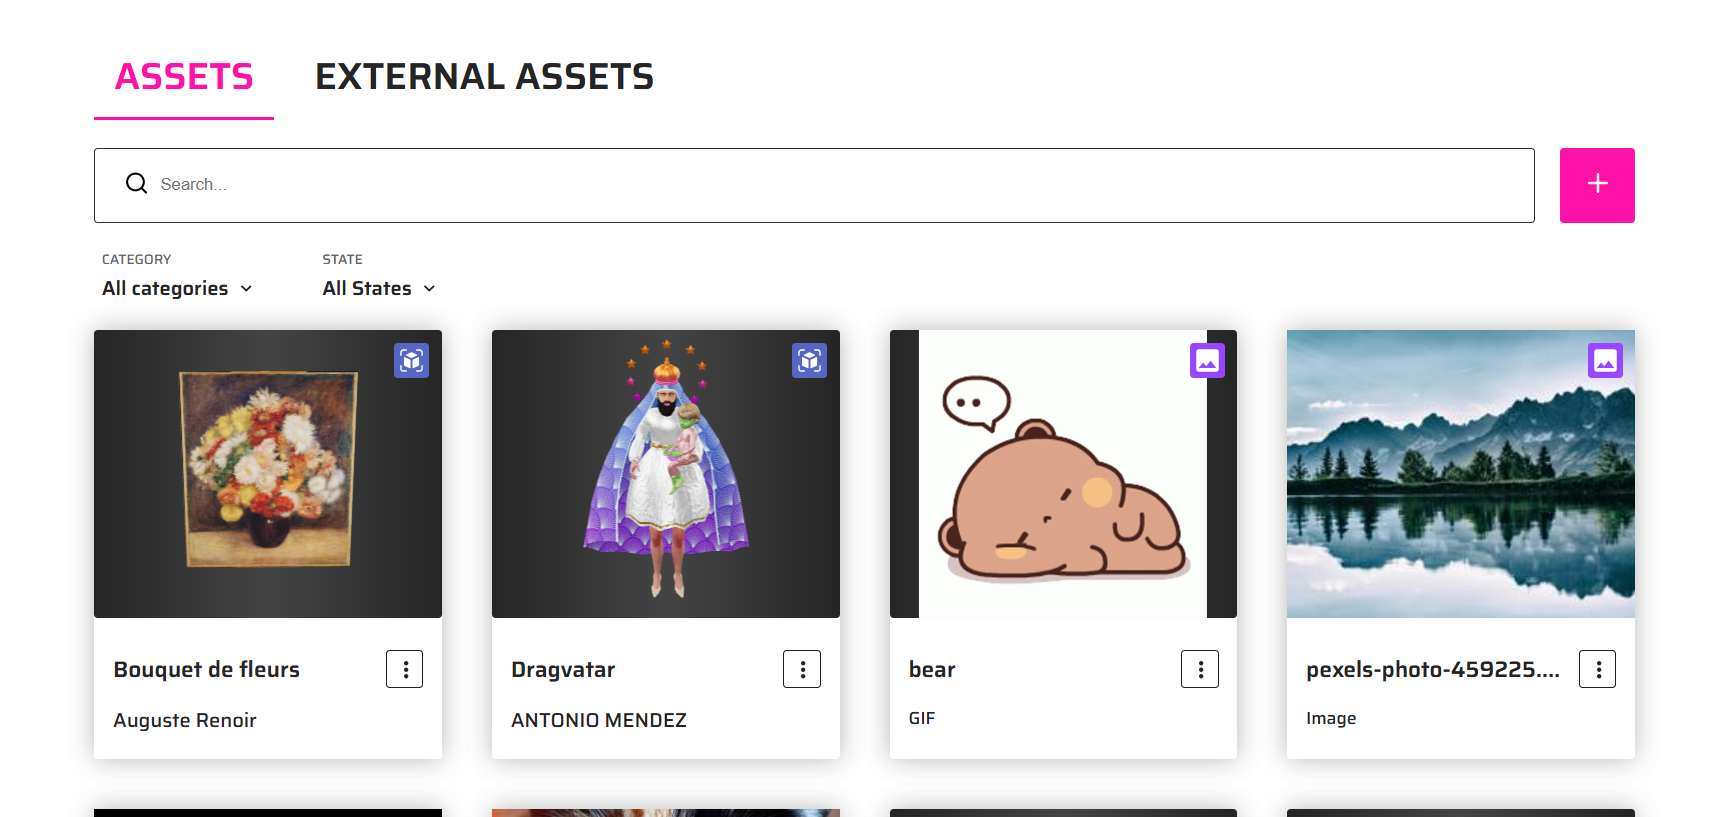
That's it! Your file is now saved in the dashboard, ready to be used in the metaverse.
To see how to add this type of media in the metaverse, check the epigraph for your user settings in the metaverse. To see how to add Media in the editor, check the epigraph for how to upload files in Creator.
Store Artworks
To upload an artwork file, start by clicking the + button.
Next, click the browse option to select the asset you want to upload. Once you’ve chosen your file, make sure to select the 'This is an artwork' option located below the form. Finally, fill out the form with the required information.
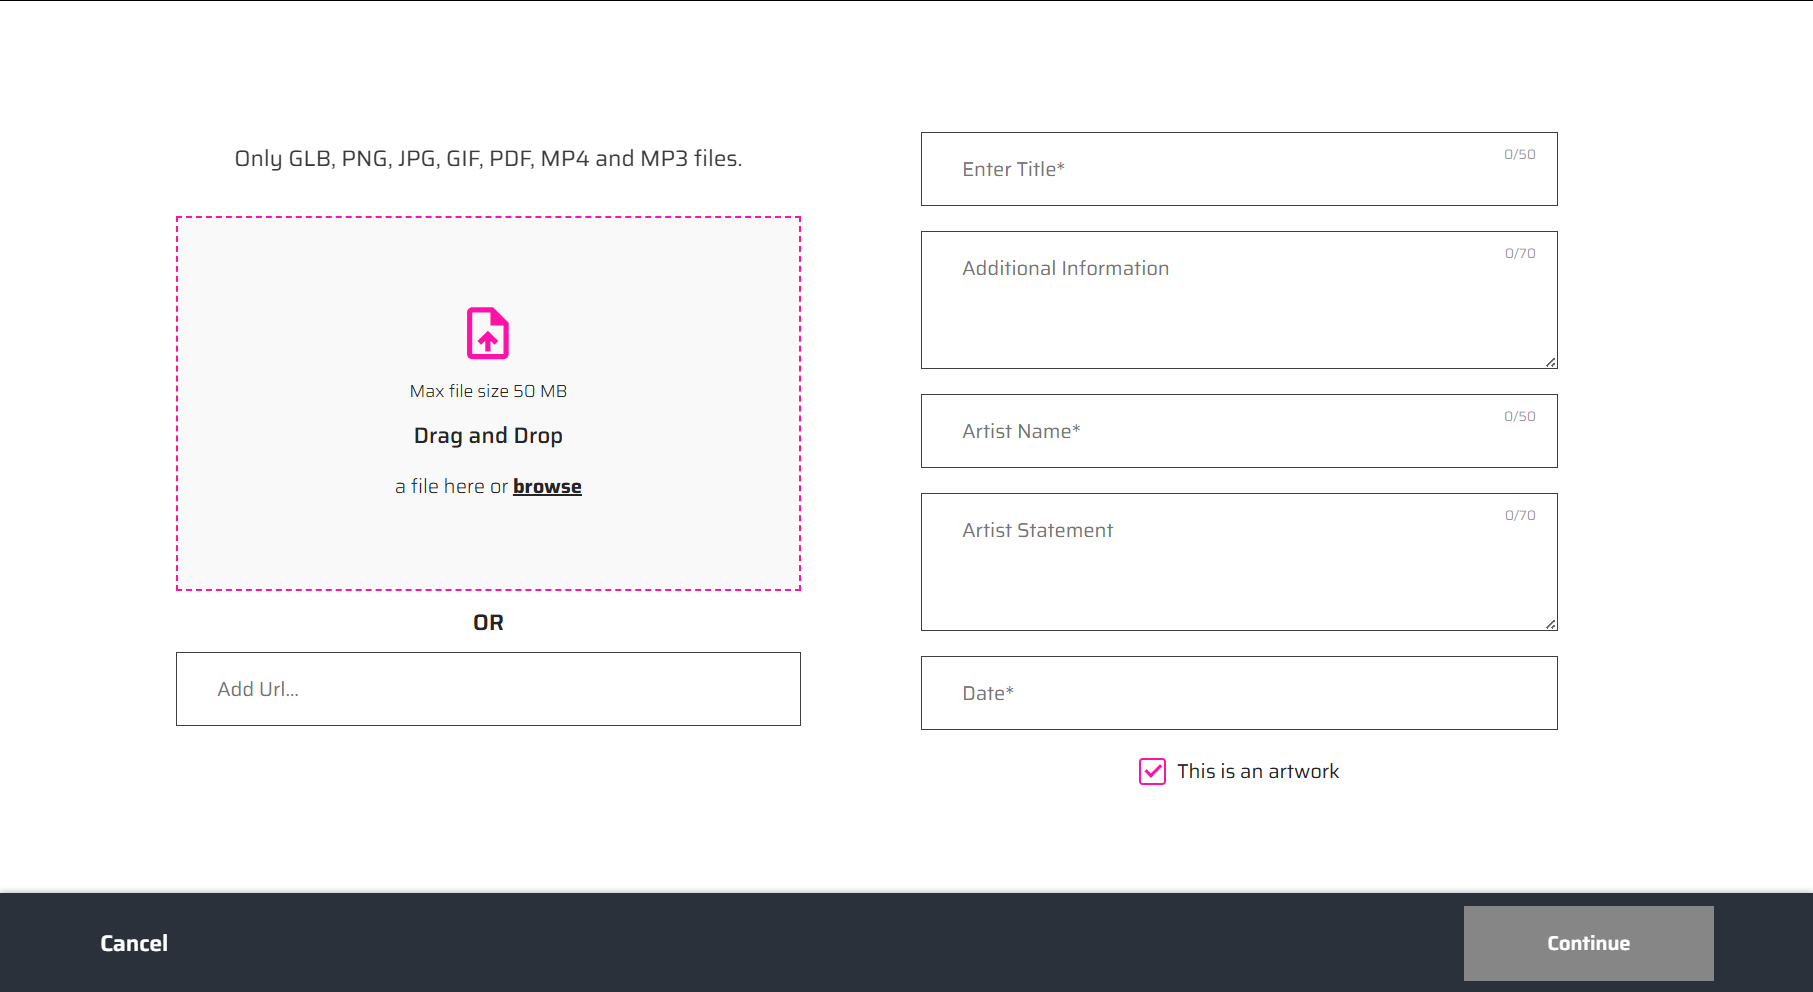
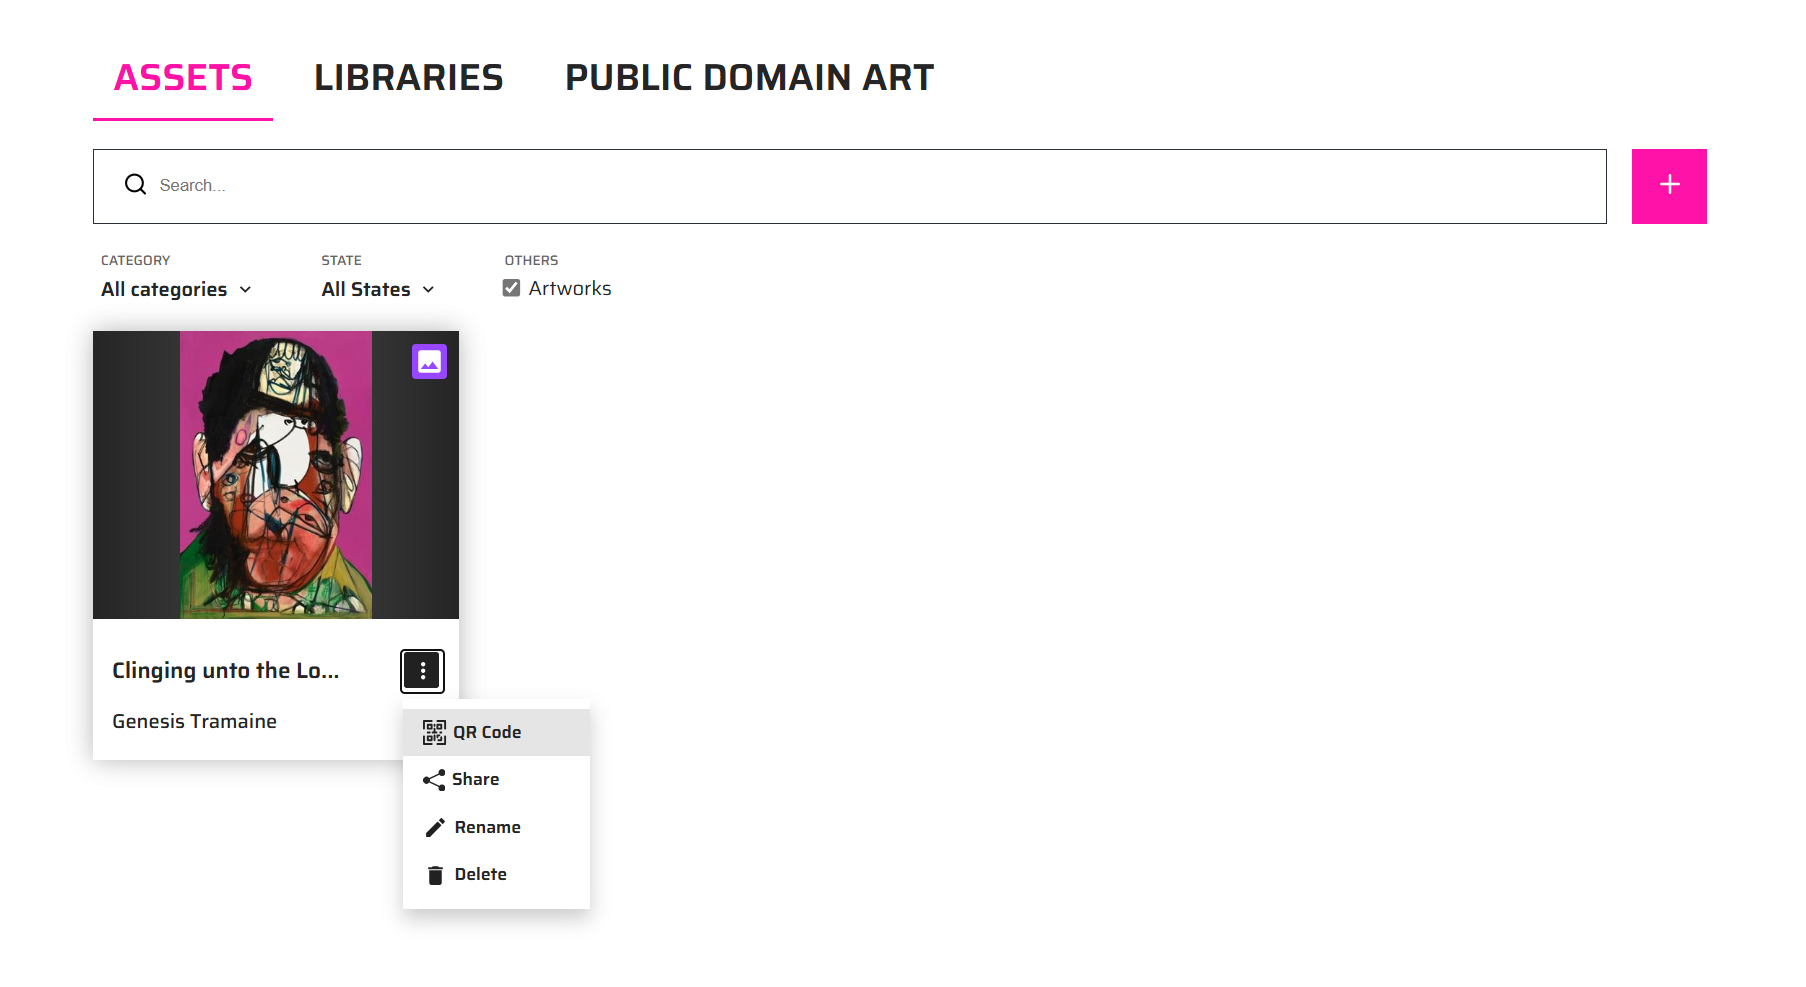
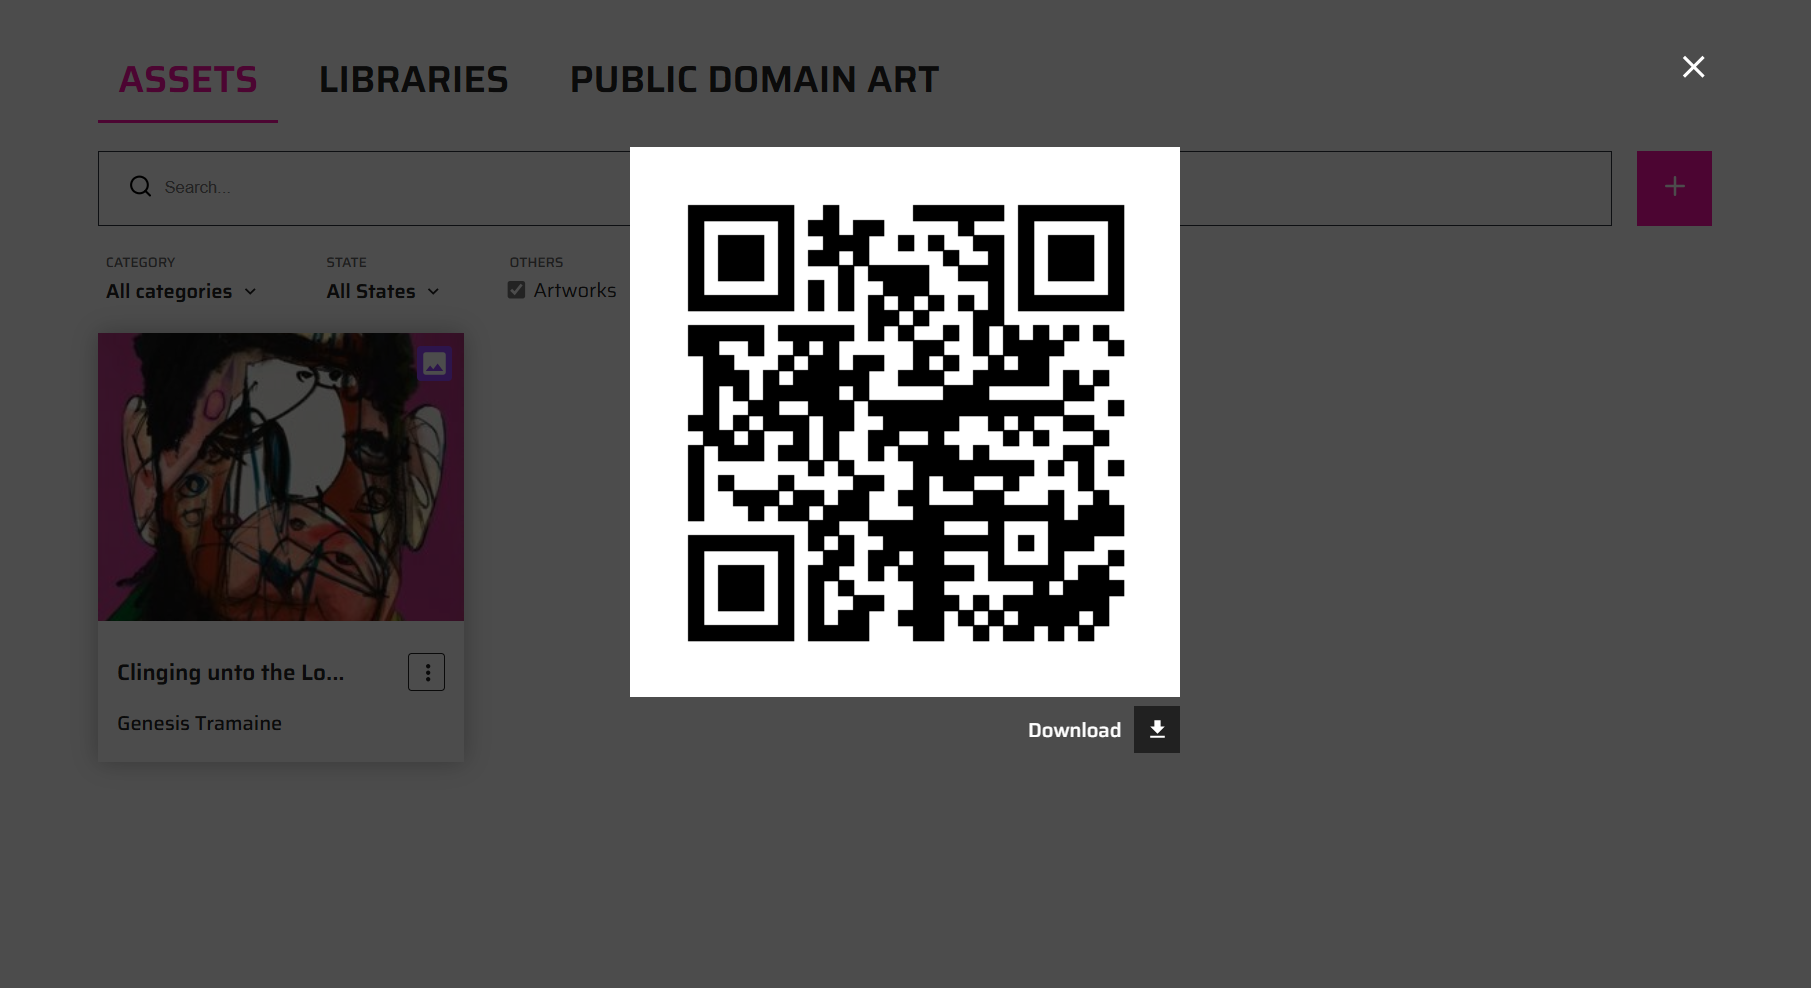
One of the features that differentiates artworks from normal assets, is that a QR code will be generated for your artwork. Directly in the dashboard, you will have the option to see it and download it. This QR code will let you see your artwork on AR.
The mandatory fields are:
Artist name: name of the author of the artwork
Title: title of the artwork.
Other fields are optional:
Date: creation date of the artwork.
Dimensions: If you want a specific size for your artwork, provide it here. If left empty, the artwork will take the custom size of the file. These dimensions will also be visible in augmented reality (AR).
Medium: Select the medium of the artwork.
Additional information: Description of your artwork.
The sole distinction with the creation of assets lies in the requirement to provide additional details about the artwork, this information will appear in an artist label once you position the artwork in the metaverse.
Later on, you can access your artworks in the metaverse, similar to how you would access assets. There, once you position the artwork a QR code and a label with the information you provided will appear.
QR codes
A key feature that sets artworks apart from other assets is the generation of a QR code. In the dashboard, you can view and download this QR code generated only for your artwork, which allows you to experience your work in augmented reality (AR).
Event Management
You also have the option to create events where you can invite people and use your created scenes as presentations or as a lobby. For more information on how to create events, please refer to our dedicated section or watch our YouTube tutorials.
