Adding & Placing Objects
The Metaverse allows you to personalize Verses by integrating media files, artworks, and interactive elements. Using upload tools, media frames, and snap colliders, you can easily position assets in the environment for others to see and interact with.
Uploading & Managing Media Assets
You can integrate various types of media into their Verses, including images, videos, PDFs, and 3D models.
How to Upload Media
- Open the Tools menu and navigate to the Upload section.
- Click on File to open the upload sidebar.
- Choose a file by clicking the upload box or pasting a URL.
- Add a name, description, and label (optional).
- Click Save, and the file will be added to your Files storage and positioned in the Verse.
Once uploaded, these assets can be placed within the environment.
Drag-and-Drop Option
For an even faster workflow, you can drag and drop files directly into the scene to instantly integrate objects and media. This method allows you to quickly arrange assets without navigating through menus and the asset is still saved in you Assets tab.
Positioning Assets
All uploaded assets are stored in your Assets tab, so you can reuse them anytime in the metaverse.
These assets are also accessible from your Archive and XR Creator Studio, ensuring everything you upload stays available across your projects.
Workspace Assets
If you’ve been added to a workspace, you can upload, manage, and access assets that belong specifically to that workspace. This makes it easy to collaborate and share media across projects with your team.
How to Upload Media to a Specific Workspace
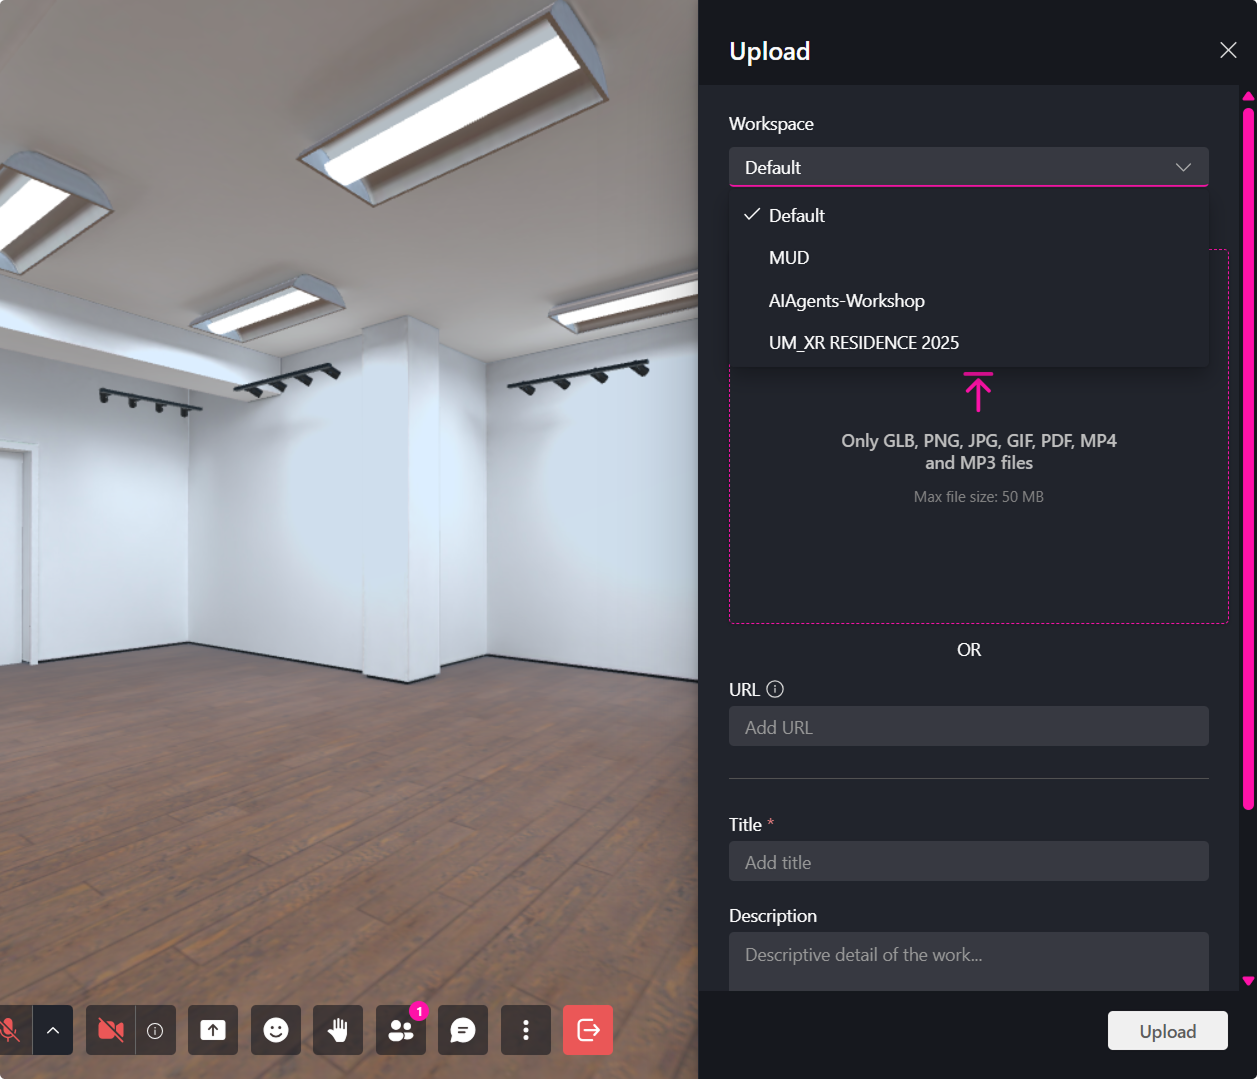
- Open the Tools menu and navigate to Upload.
- Click File to open the upload sidebar.
- Use the workspace dropdown to select the workspace you want to upload to.
- Choose a file by clicking the upload box or pasting a URL.
- (Optional) Add a name, description, and label.
- Click Save. The file will be added to the workspace Files storage and placed in the Verse.
Access Workspace Assets
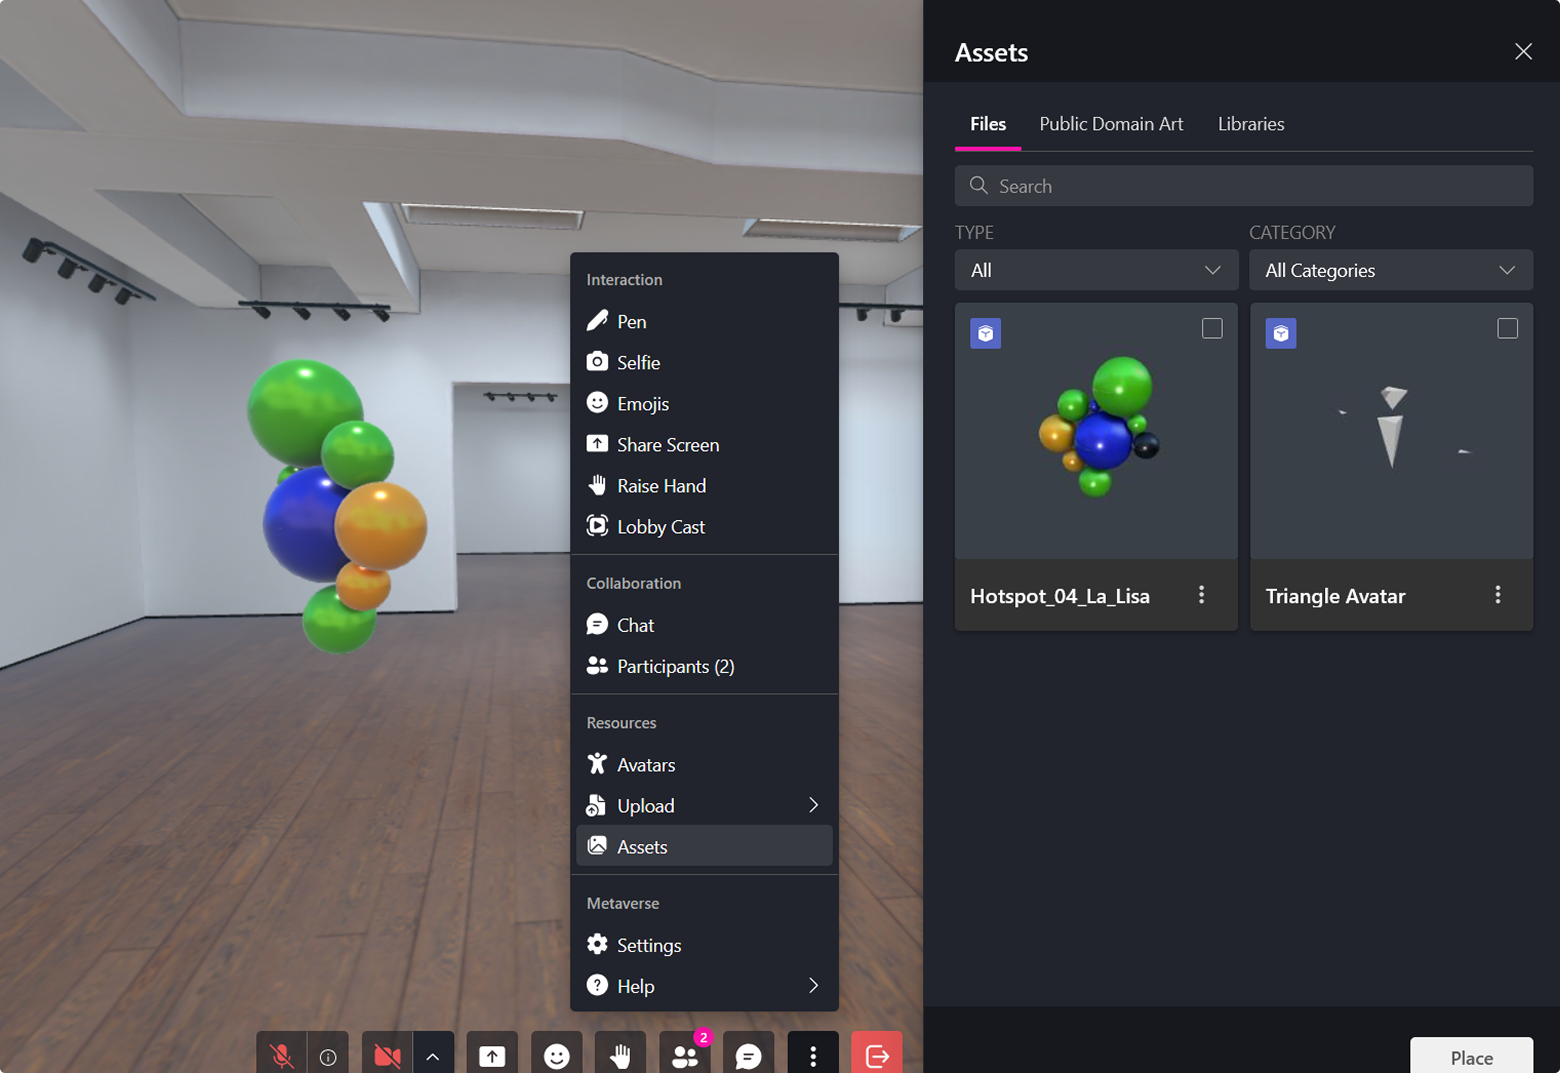
- Open the Tools menu.
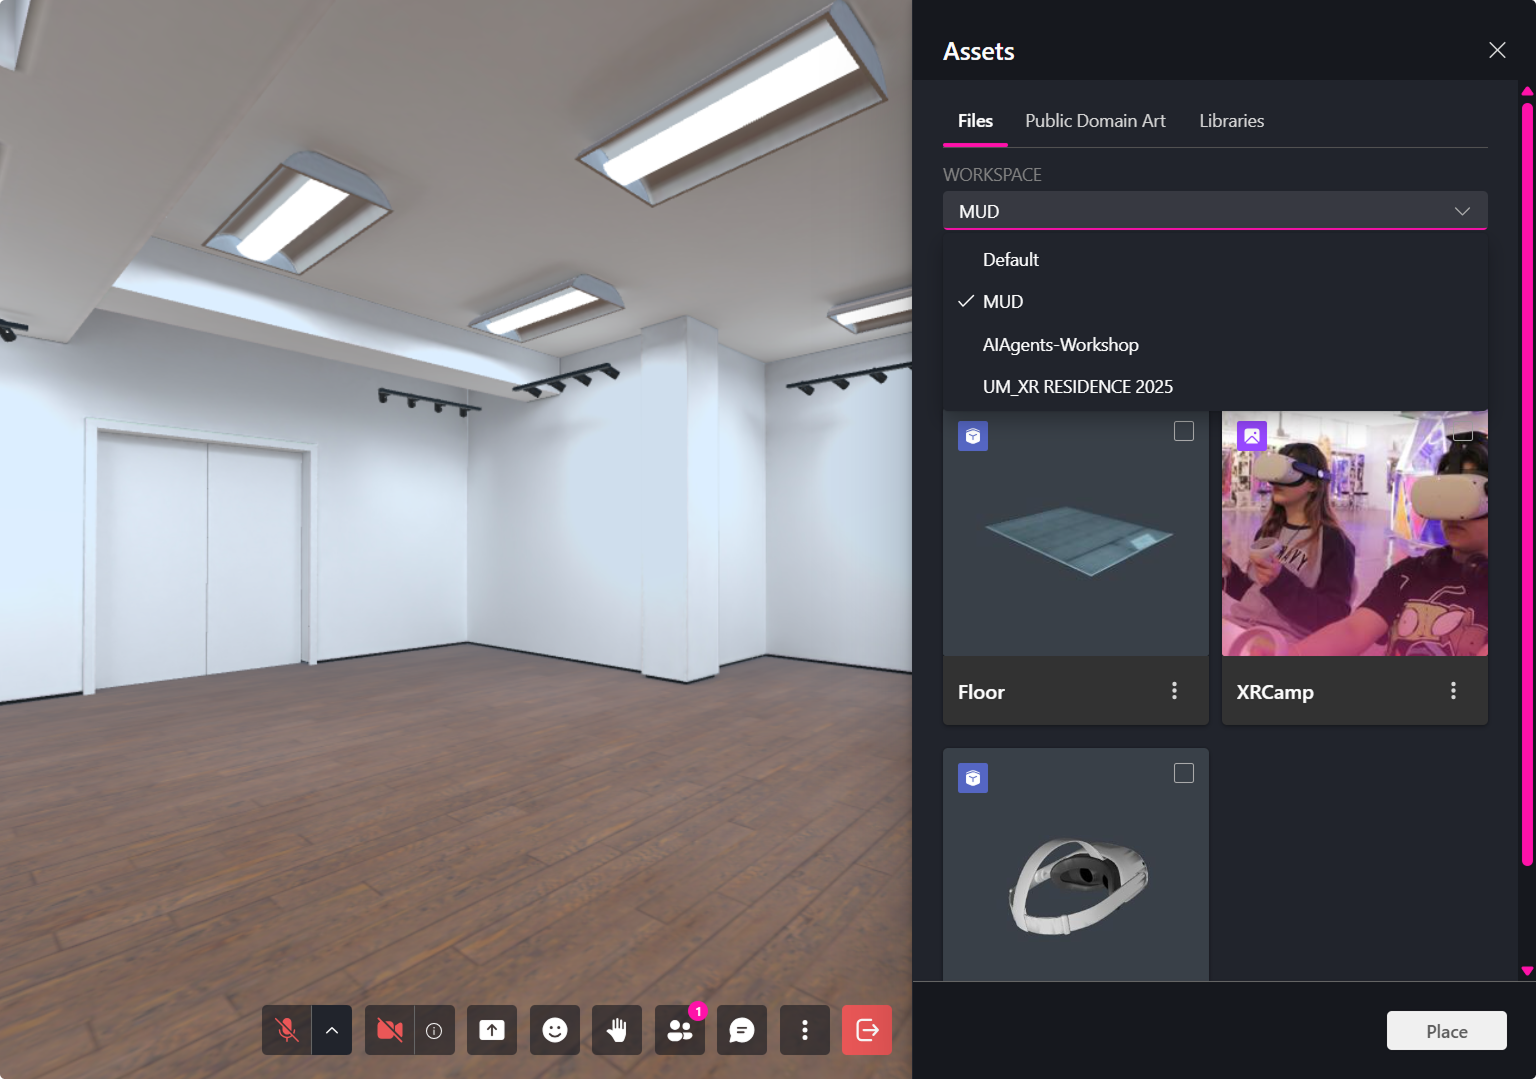
- Click Assets to open the assets sidebar.
- Select the workspace from the workspace dropdown.
- Choose an asset and click Place to add it to the scene.
Only users who have been invited to a Workspace or who are granted the required permissions—such as Workspace Permissions—can create or access workspaces.
If you believe you should have access, please contact a workspace administrator or reach out via the Contact page.
Importing Assets from Public Domain Art & Sketchfab
The Tools menu allows users to upload personal media or browse Public Domain Art & Sketchfab for 3D Objects.
How to Add Public Domain Art or Sketchfab objects:
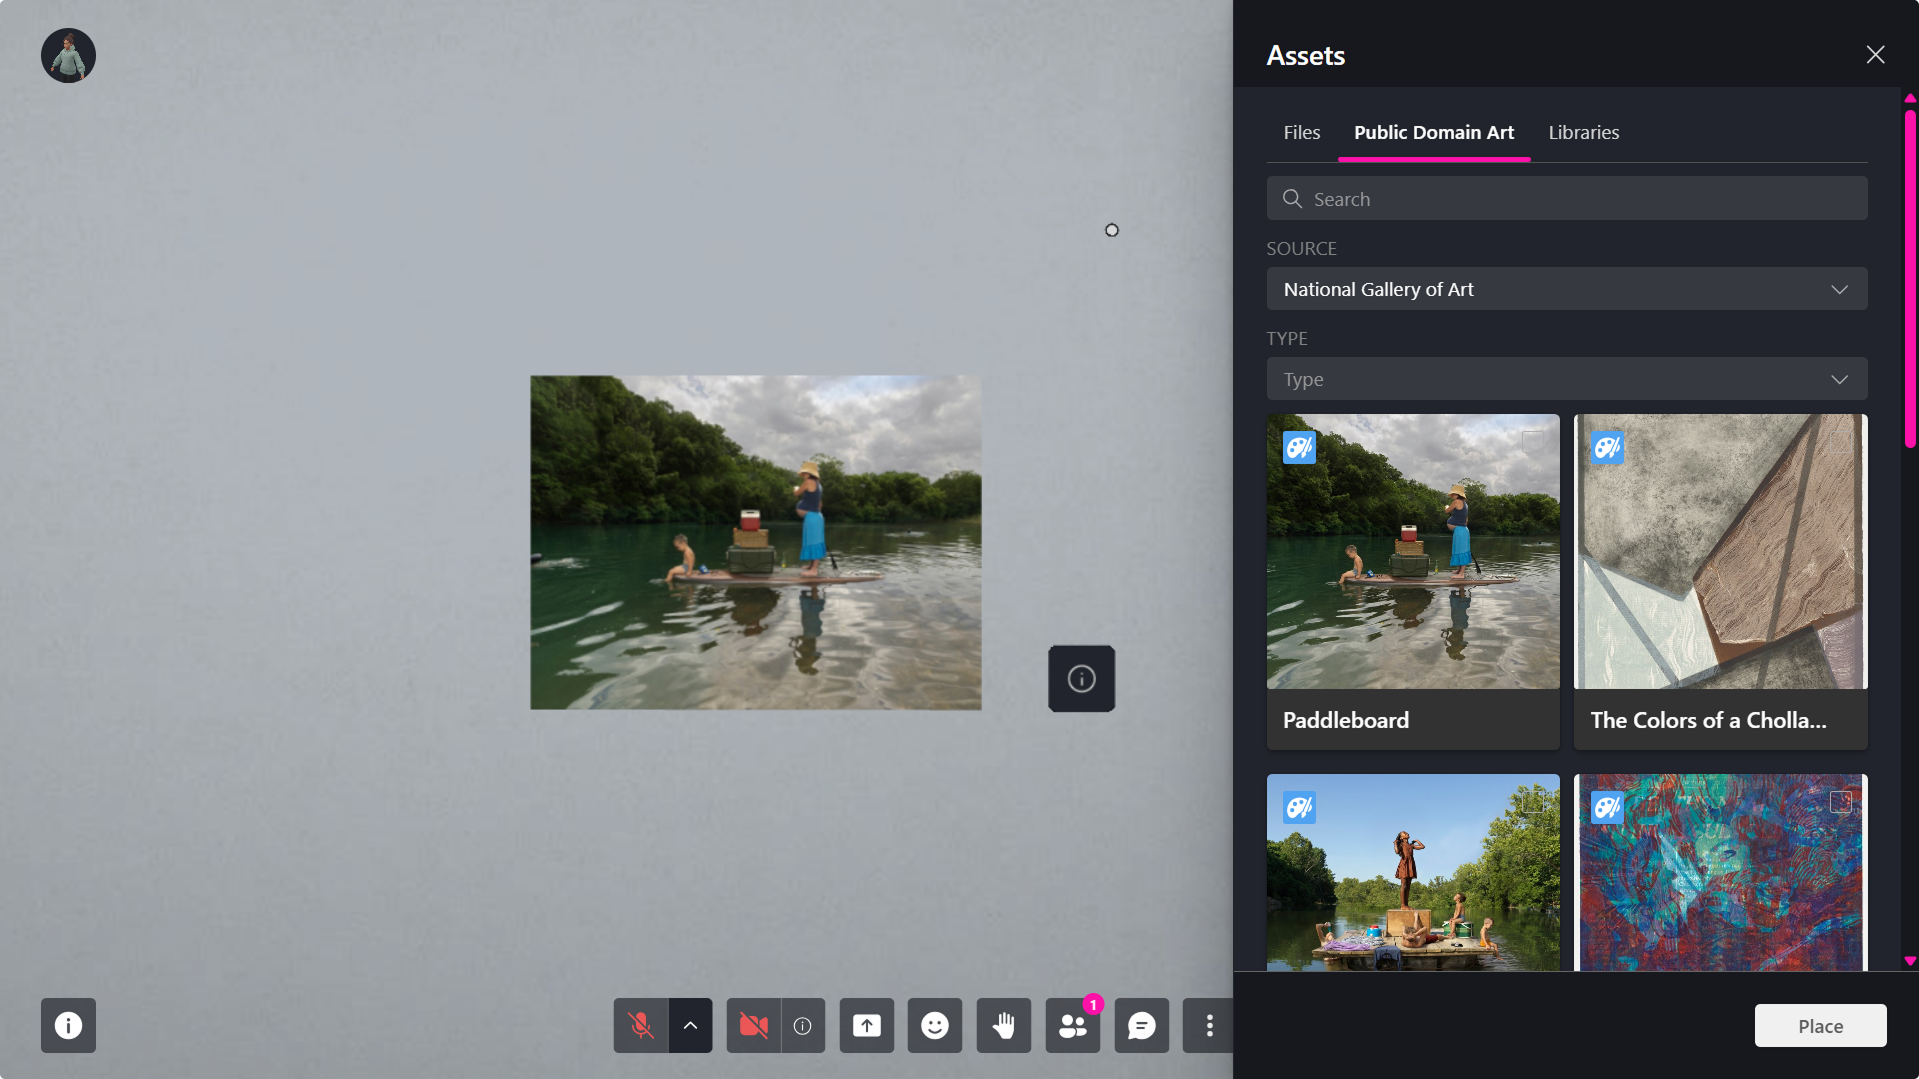
- Open the More modal.
- Select the Assets panel.
- Browse the Public Domain Art or Sketchfab tabs.
- Select the desired piece.
- Click Place.
The selected asset will be automatically added to your scene.
Extra Features for Public Domain Art
- AR Integration: Public Domain Art can be viewed in Augmented Reality (AR) by scanning a QR code.
- Custom Editing: Users can customize and modify the artwork to make it unique by adding frames and mediums.
To see these features in more detail, see our Assets Properties page.
🔹 Pro Tip: Use Public Domain Art to create interactive galleries, immersive experiences, and educational environments.
Optimizing 3D Models
After uploading a 3D model to your assets, you have the option to analyze the file’s size and complexity.
If the model exceeds recommended performance limits, the system will prompt you to run optimization.
How Optimization Works
The optimization tool reduces:
- Polygon density
- Texture resolution
This improves load times and performance while preserving visual quality.
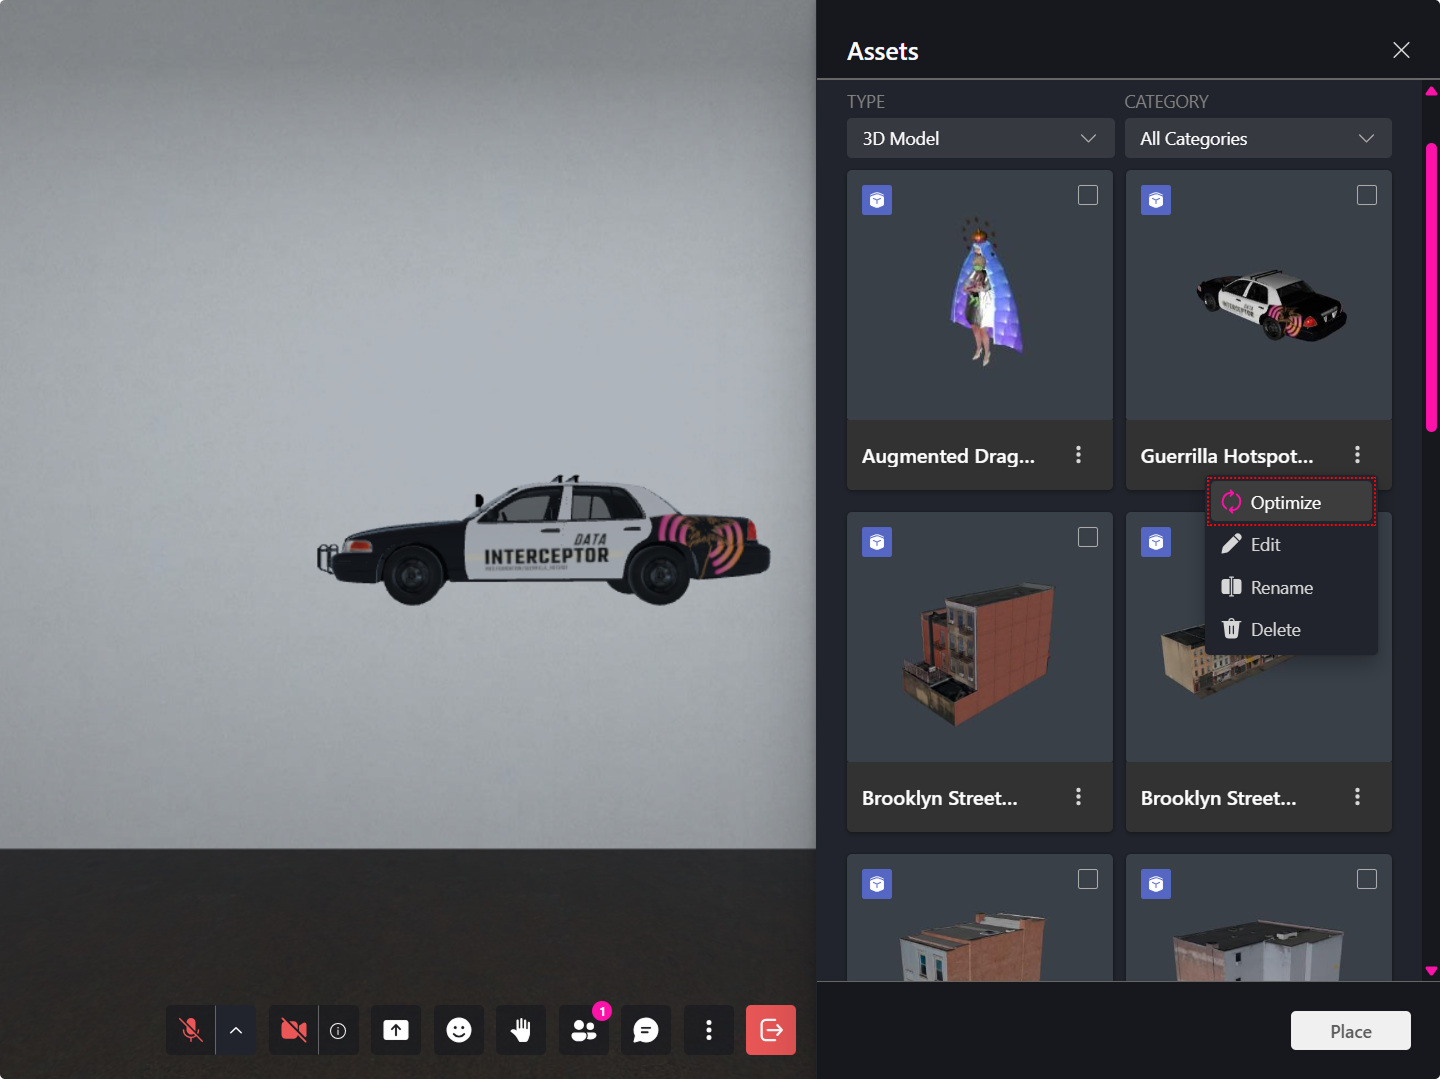
When optimization is available, open the model’s options and select "Optimize."
Optimization Workflow
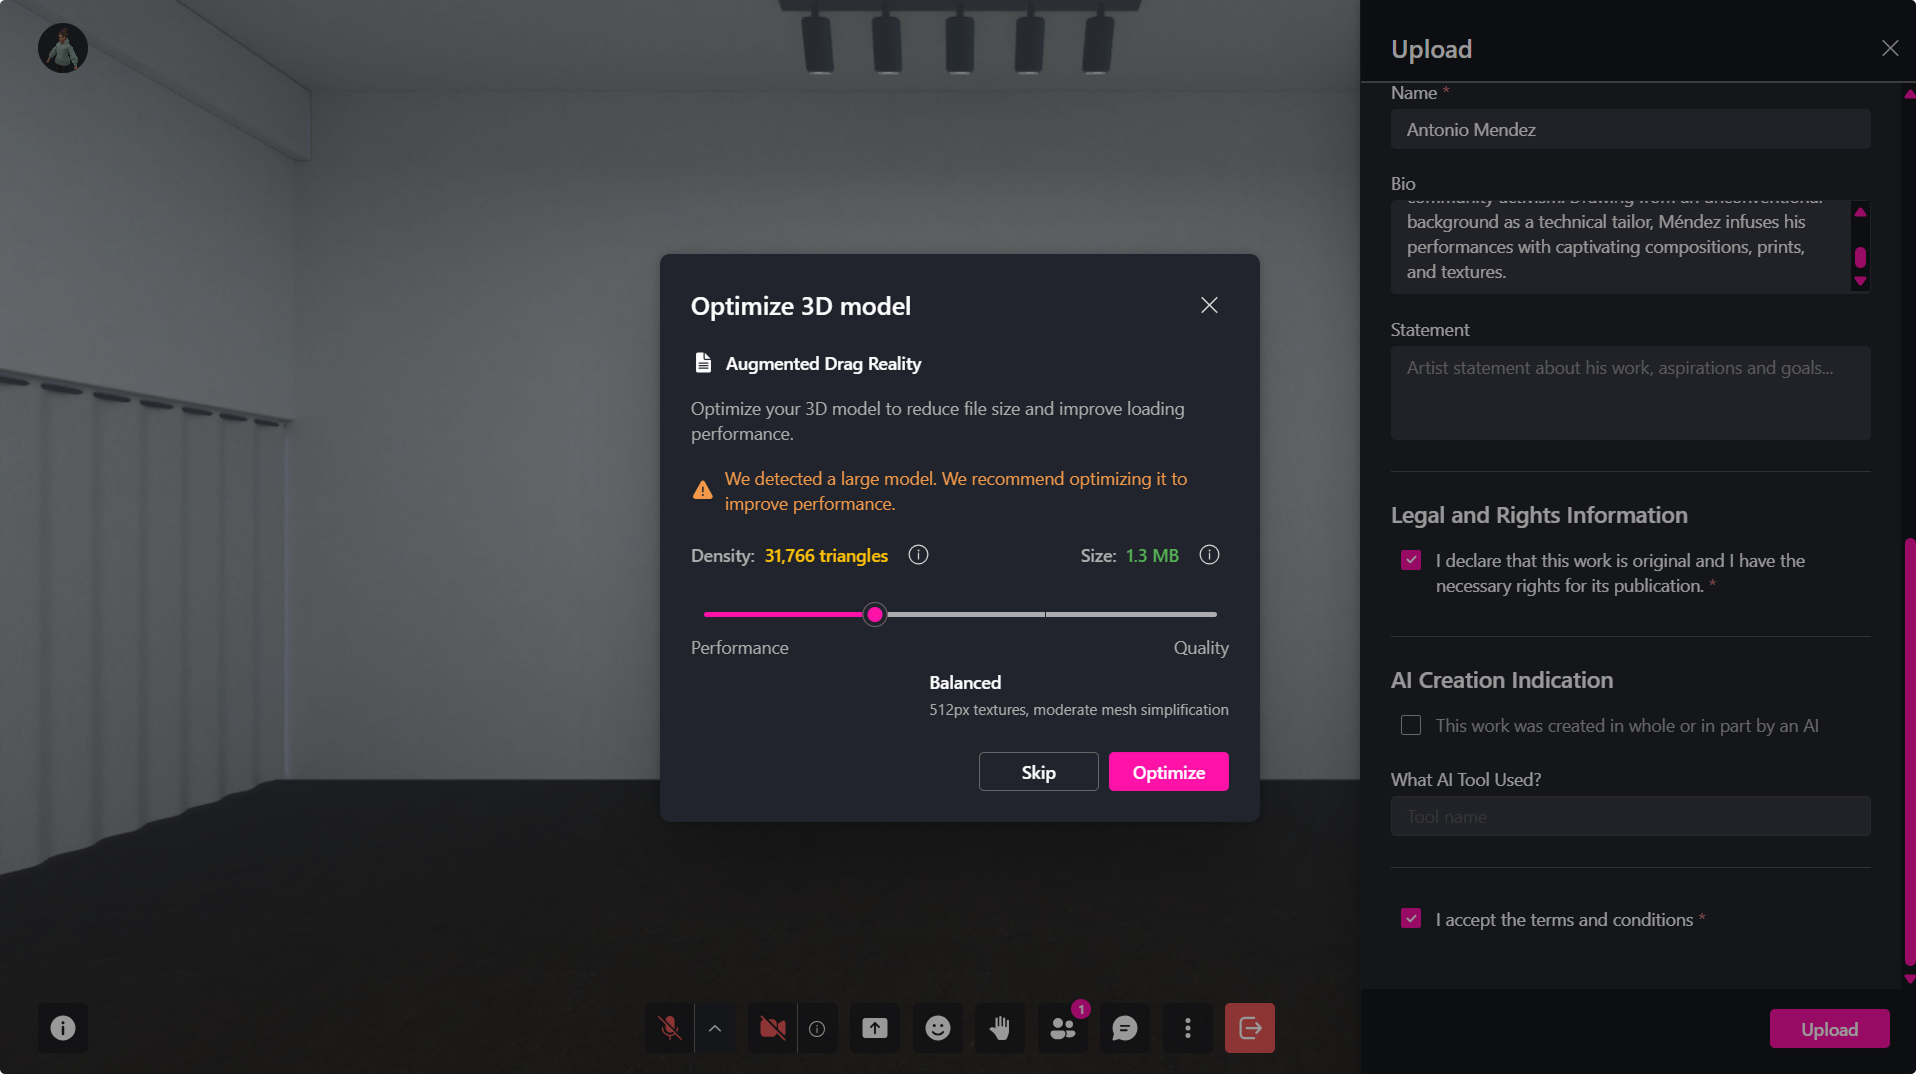
Step 1: Open the Optimization Tool
- During upload: prompted automatically after uploading a glb.
- After upload: open the object’s dropdown menu in the Assets Panel and select Optimize.
Step 2: Adjust Optimization Level
A performance–quality slider appears:
- Move left for higher performance (smaller file size, fewer polygons).
- Move right for higher quality (more detail, larger file size).
The dialog displays live previews of:
- Current polygon density
- Current file size
Step 3: Preview the Result
A preview window displays how the optimized model will look, allowing you to compare the updated version before applying any changes.
Step 4: Confirm Optimization
Choose one:
- Create a Copy – saves the optimized version as a new file.
- Optimize Original – replaces the existing version.
🔹 Pro Tip: Regularly optimize imported assets from external sources like Sketchfab to maintain high performance across devices.