Skyboxes
Skyboxes play a crucial role in setting the ambience and atmosphere of your scene. They serve as the background environment, simulating sky, space, or custom landscapes to create immersive worlds.

By adjusting skybox parameters, you can control lighting, time of day, and atmospheric effects to match the mood of your scene.
Customizing Skybox Settings
You can fine-tune your skybox using the Scene Environment Settings, which control lighting, scattering effects, and atmospheric appearance.
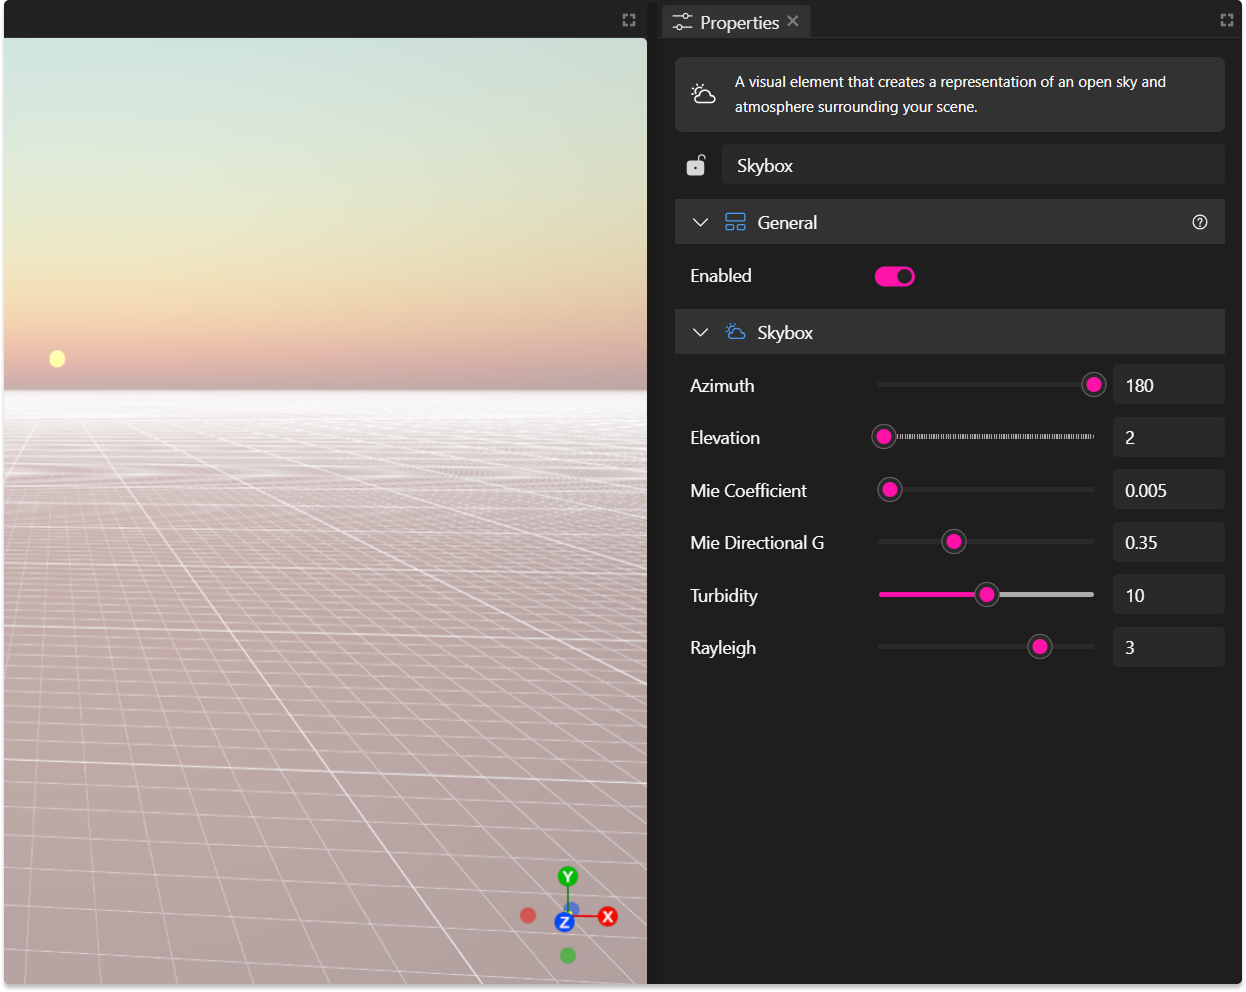
Skybox Properties
| Property | Description |
|---|---|
| Azimuth | Controls the horizontal angle of the sun or light source in the skybox, measured in degrees. |
| Elevation | Adjusts the vertical angle of the sun or light source, affecting its height above the horizon. |
| Mie Coefficient | Determines the amount of Mie scattering, which affects the appearance of haze and aerosols. |
| Mie Directional G | Controls the asymmetry factor of Mie scattering, influencing the directionality of the haze. |
| Turbidity | Adjusts the clarity of the atmosphere, with higher values resulting in a hazier sky. |
| Rayleigh | Sets the intensity of Rayleigh scattering, which affects the color and brightness of the sky. |
🔹 Pro Tip: Experiment with different settings to create day/night cycles, cinematic lighting, or unique atmospheric effects.
Adding a Custom Skybox
Currently, XR Creator Studio does not support direct custom skybox uploads. However, you can achieve a similar effect by using a 360° image inside your scene.
How to Add a Custom Skybox Using a 360° Image
- Upload a 360° equirectangular image (
.JPGor.PNGformat). - Place the image inside your scene.
- In the Properties Panel, change the projection from
flatto 360-equirectangular. - Scale the image, ensuring it fully surrounds the environment, creating the illusion of a custom sky.
🔹 Pro Tip: Use high-resolution 360° images to avoid pixelation and maintain immersive quality.