Collections
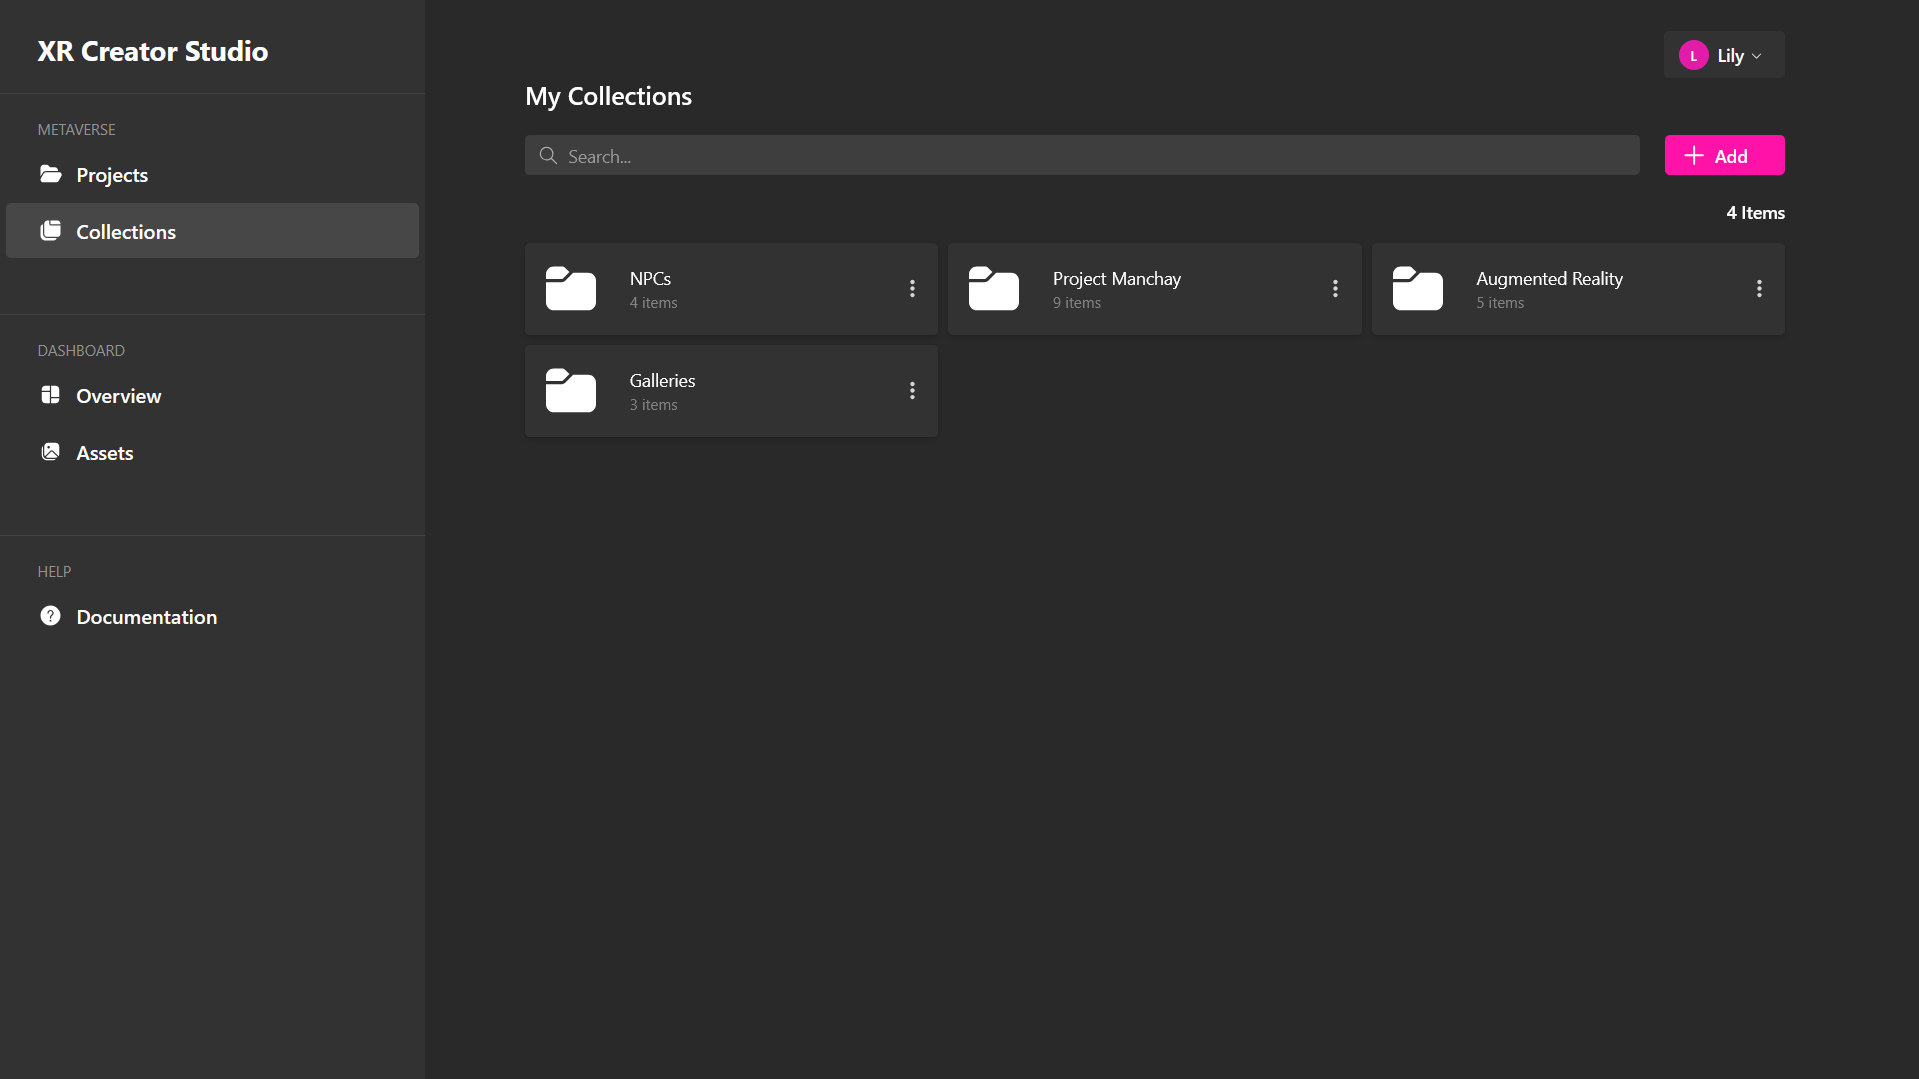
As you create more projects in the XR Creator Studio, organizing them and the rest of your work into Collections helps you manage, categorize, and quickly access your work.
Collections act as structured folders designed to categorize and manage projects, verses, and other assets.

How to Create a Collection
- Go to the Collections Page in XR Creator Studio.
- Click "Add" or "Add Collection".
- A modal will appear, prompting you to enter a name for your new collection.
- Once named, click "Create".
- The new collection folder will appear on your Collections Page.
🔹 Pro Tip: Name collections based on themes, project types, or teams for easy navigation.
Adding Existing Assets to a Collection
You can now add both projects and verses to an existing collection:
- Open the Collection to which you’d like to add an asset.
- Click "Add Items".
- Select the type of asset you want to add.
- Click Confirm to complete the action.
Once a collection is created and assets have been added, you can also create new assets within it and move existing assets between collections.
🔹 Pro Tip: Organizing related projects together makes it easier to collaborate and track progress.
Managing Collections
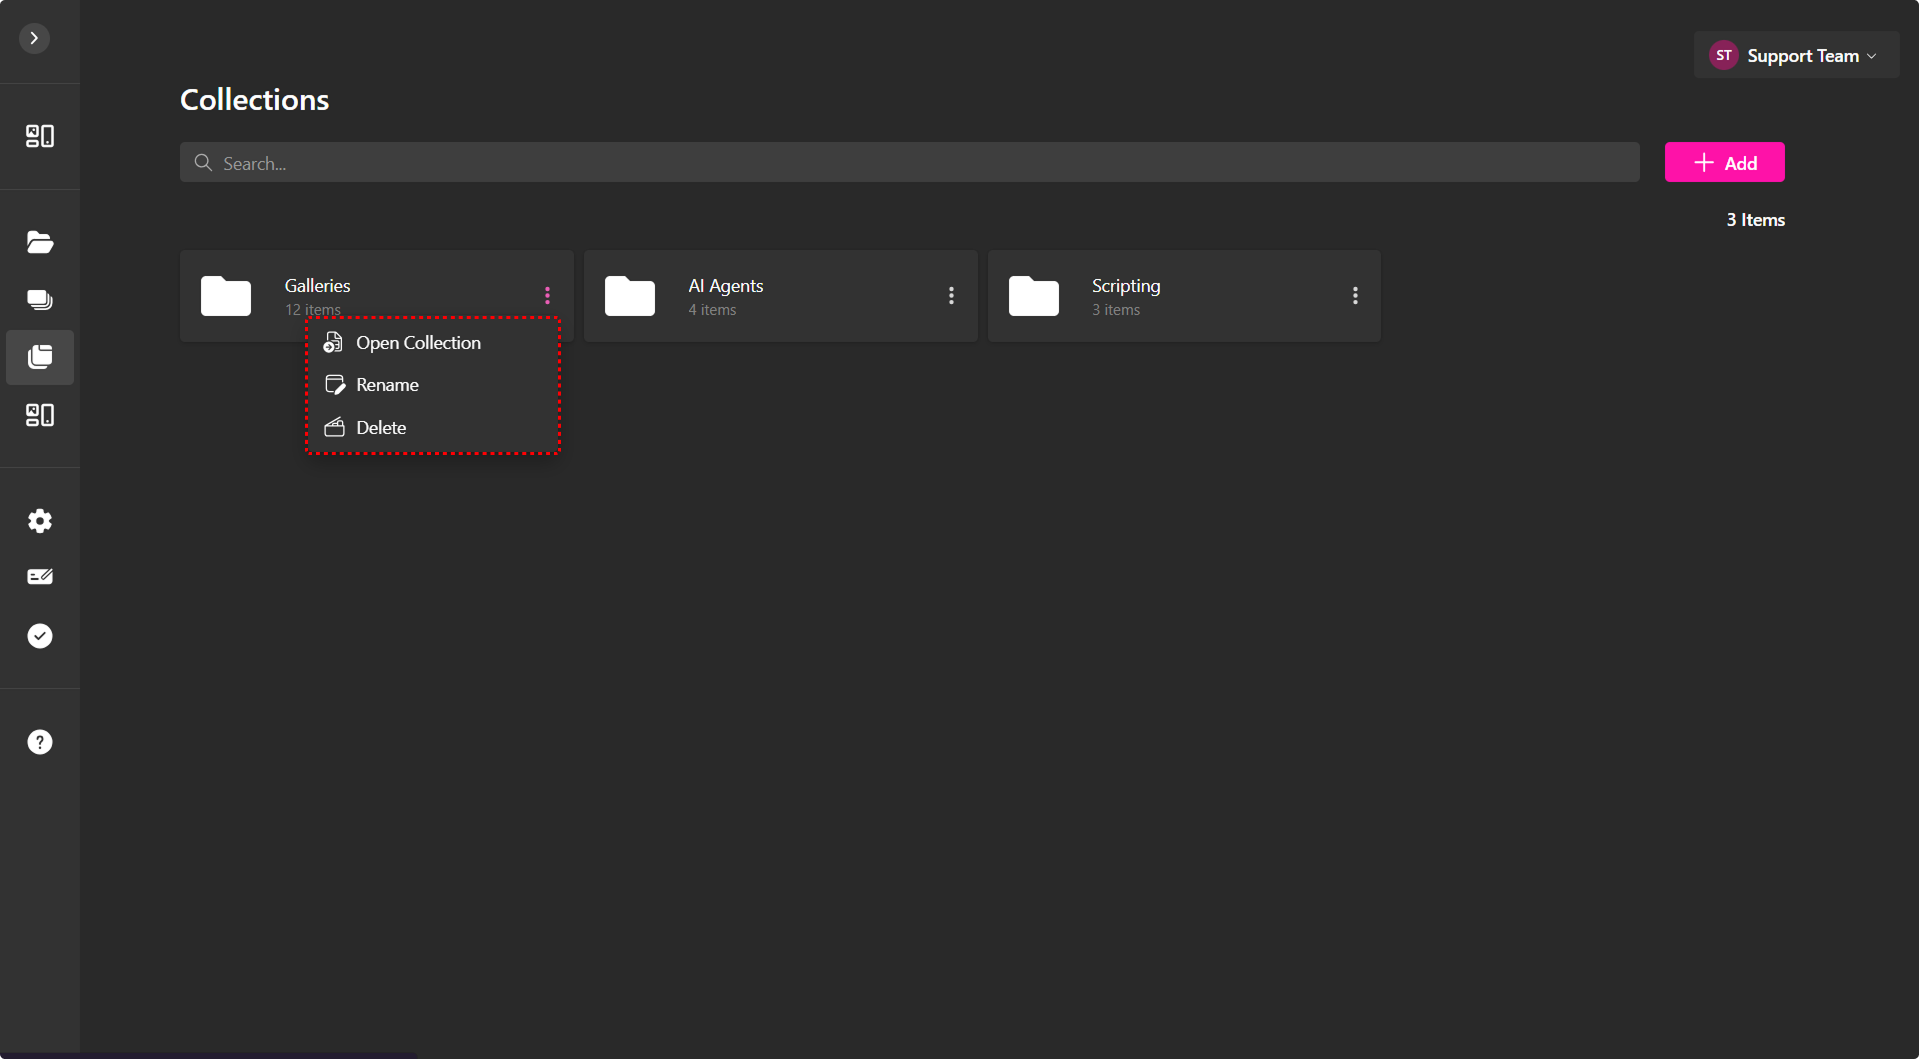
Once you've created collections, use the dropdown menu to access key management tools.

Here's what each option lets you do:
-
Open Collection – View the selected collection and explore its added assets.
-
Rename – Update the collection’s name to better reflect its purpose.
-
Delete – Permanently remove the collection. This action can’t be undone, so proceed with care.
Managing Assets Within a Collection
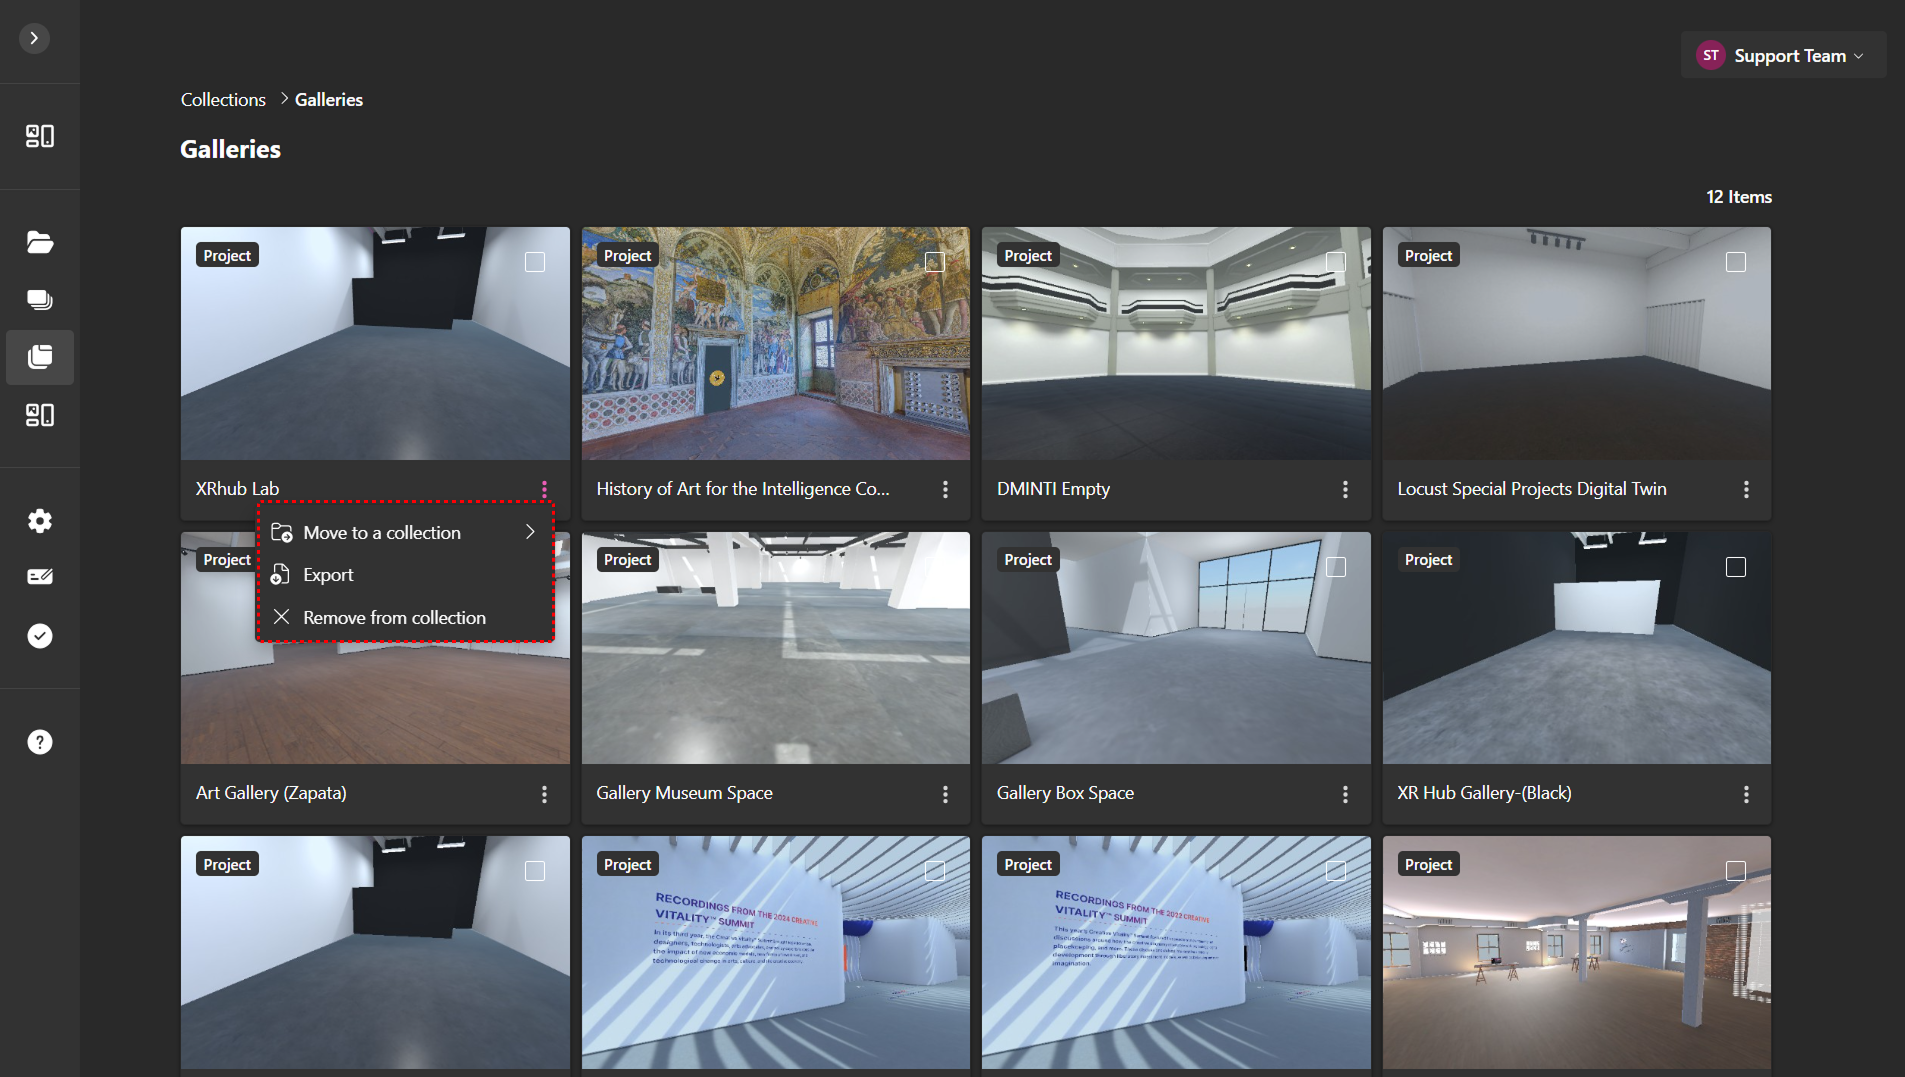
Assets added to a collection come with their own management options:

-
Move to Collection – Transfer the current asset to a different collection.
-
Remove from Collection – Detach the asset from the collection. This doesn’t delete the asset; it simply removes its association with the collection.