Settings
Profile Settings lets users manage their personal profile, avatar, branding, subscriptions, account, and privacy options.
- Avatar — Create and customize your avatar.
- Profile — Manage your profile photo, description, and links.
- Branding — Configure your custom subdomain, social card, and brand colors.
- Subscriptions — View and manage your subscription details.
- Account — Review active sessions, sign out of devices, and permanently delete your account.
- Privacy — Control whether your public profile is visible to others.
You can access this page from the left sidebar under Account → Settings.
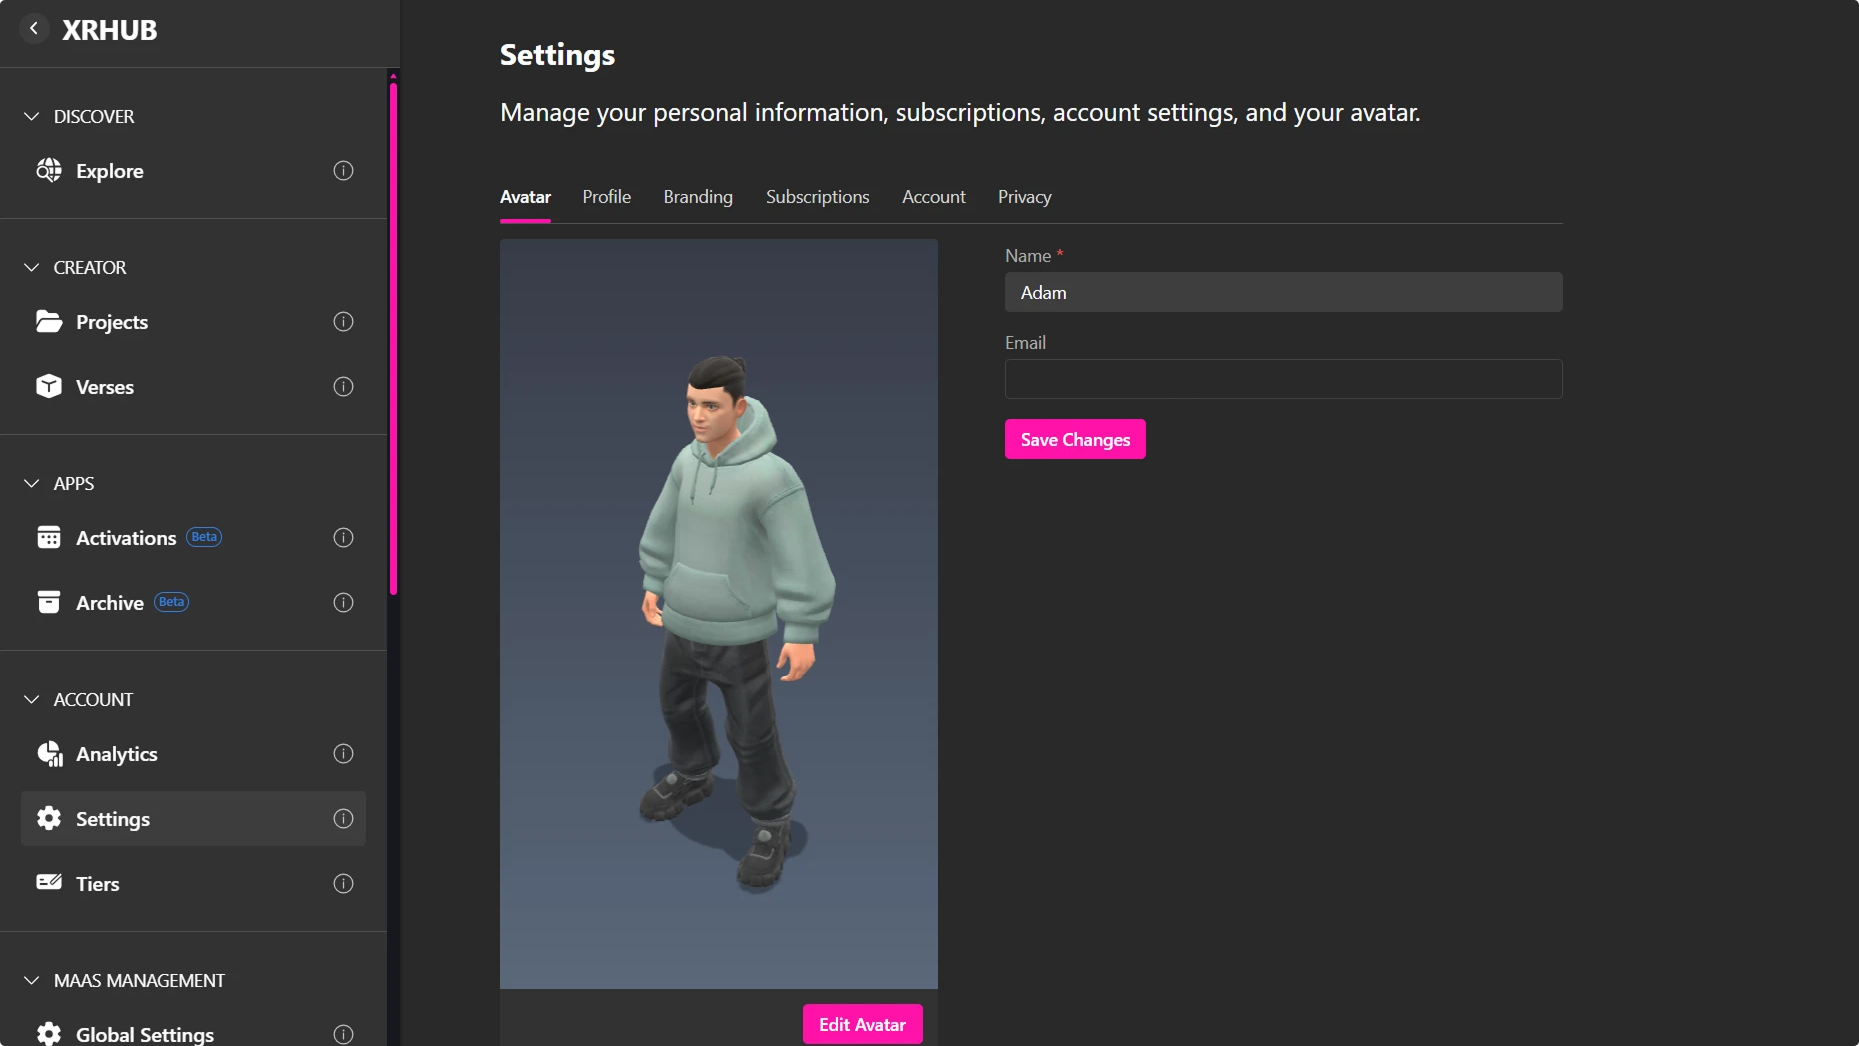
Avatar Tab
The Avatar tab allows you to manage your basic account information and customize how you appear in the metaverse.
From this section, you can:
- Update your display name.
- Update your email address.
- View your current 3D avatar.
- Click Edit Avatar to customize or replace your avatar using the avatar editor.
After making changes to your name or email address, click Save Changes to apply the updates to your account.
Custom Avatars
To design a cartoon-style avatar:
- Enter a Verse.
- Click the user dropdown in the top-left corner.
- Select Change Avatar.
- In the avatar panel, go to the My Avatars tab and click Add Avatar.
- Choose the first option from the dropdown.
- Use the customization tools to personalize your avatar’s features.
- Save your creation with a unique name.
Upload Your Own Model
Prefer using your own 3D model? Here’s how:
- Enter a Verse.
- Open the user dropdown in the top left corner.
- Click "Edit Avatar".
- In the avatar manager, select "Add Avatar".
- Click "Custom Avatar" to upload your
.glbfile. - Save your avatar with a custom name.
💡 Tip: You can switch between different avatars anytime. Mix styles and test looks; once saved, your changes will automatically sincronize in the metaverse.
Profile
Use the Profile tab to manage your public profile details.
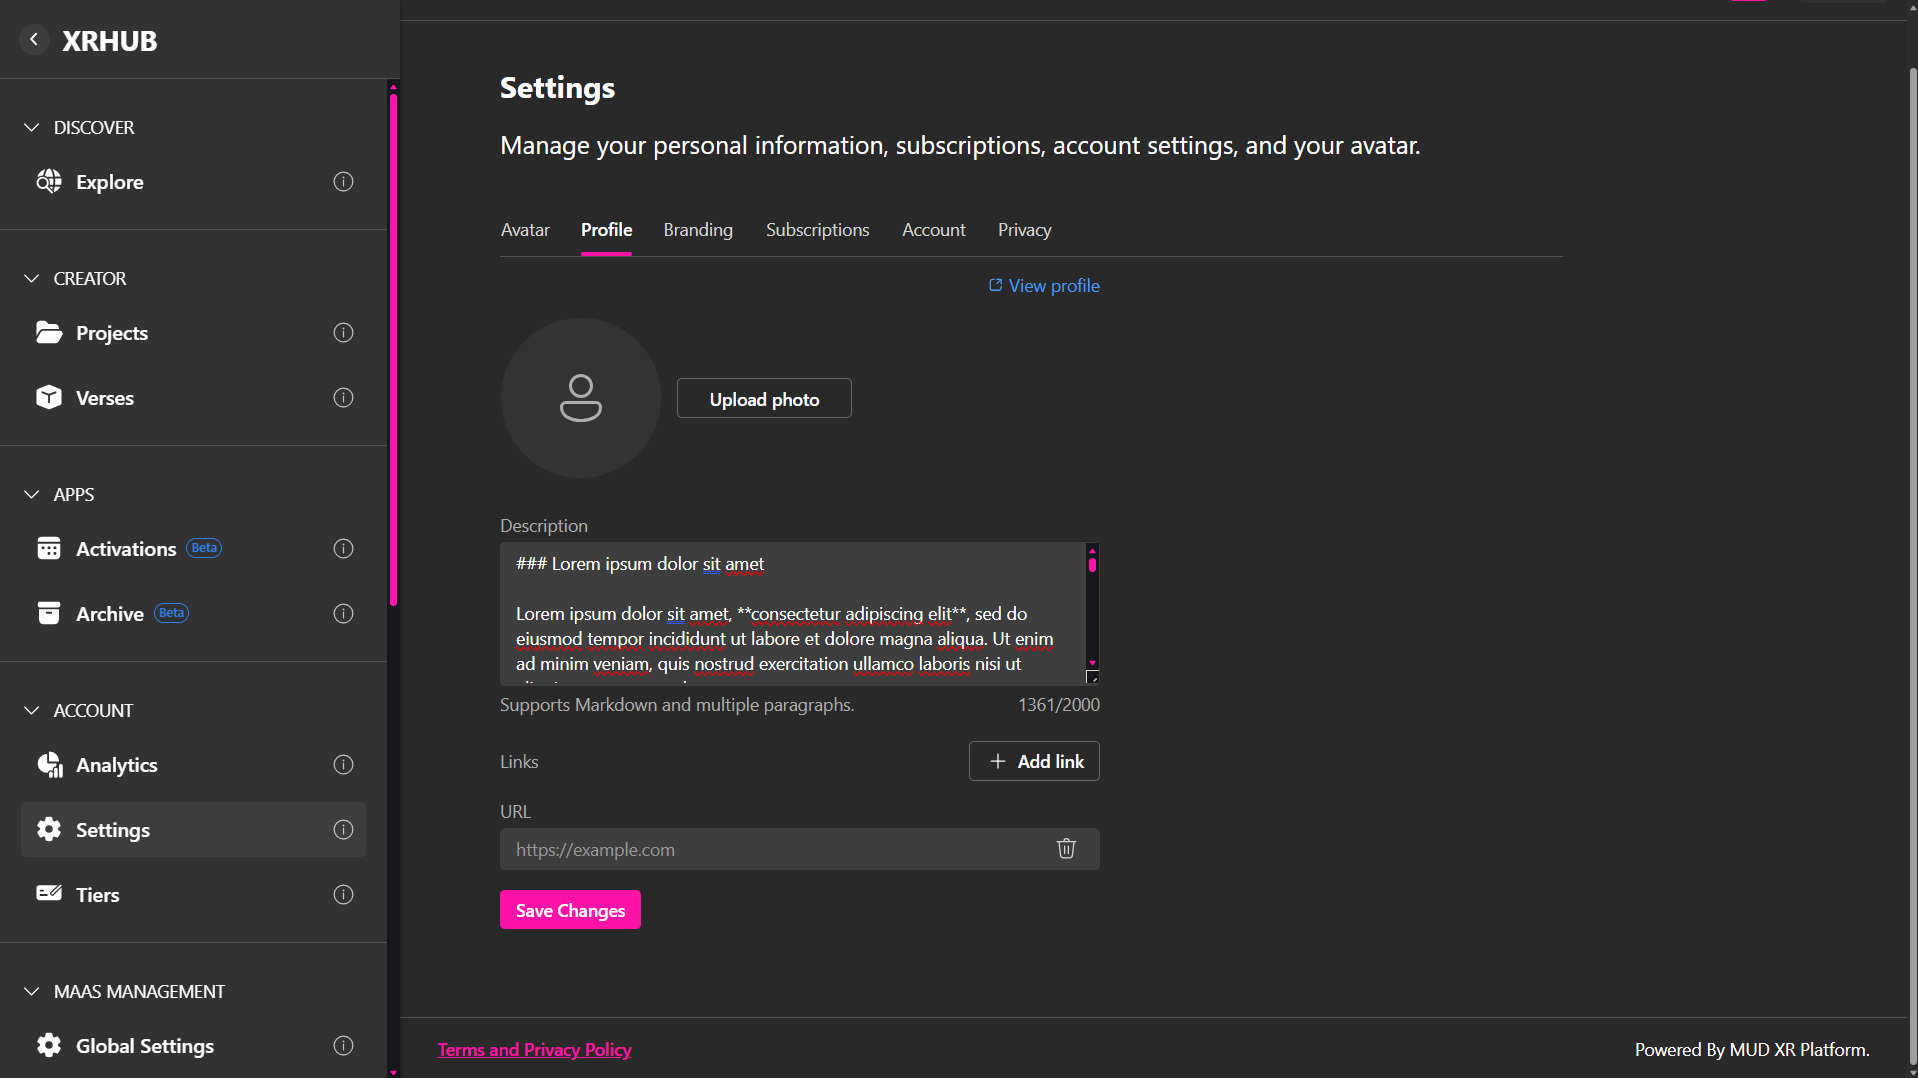
Options include:
-
Upload Photo: Add or replace your profile photo. This image will be displayed on your public profile.
-
Description: Add a description to your profile. Markdown formatting and multiple paragraphs are supported. This content will appear in the About section of your public profile.
-
Links: Add links to your profile by clicking Add Link. These links will be displayed in the About section of your public profile.
-
View Profile: Open your public profile page to preview how it appears to other users.
-
Save Changes: Save and apply all updates to your profile.
Note: This information is displayed on your public profile or custom subdomain when it is published. These features are available only to users with permission to publish a public profile or create a custom subdomain.
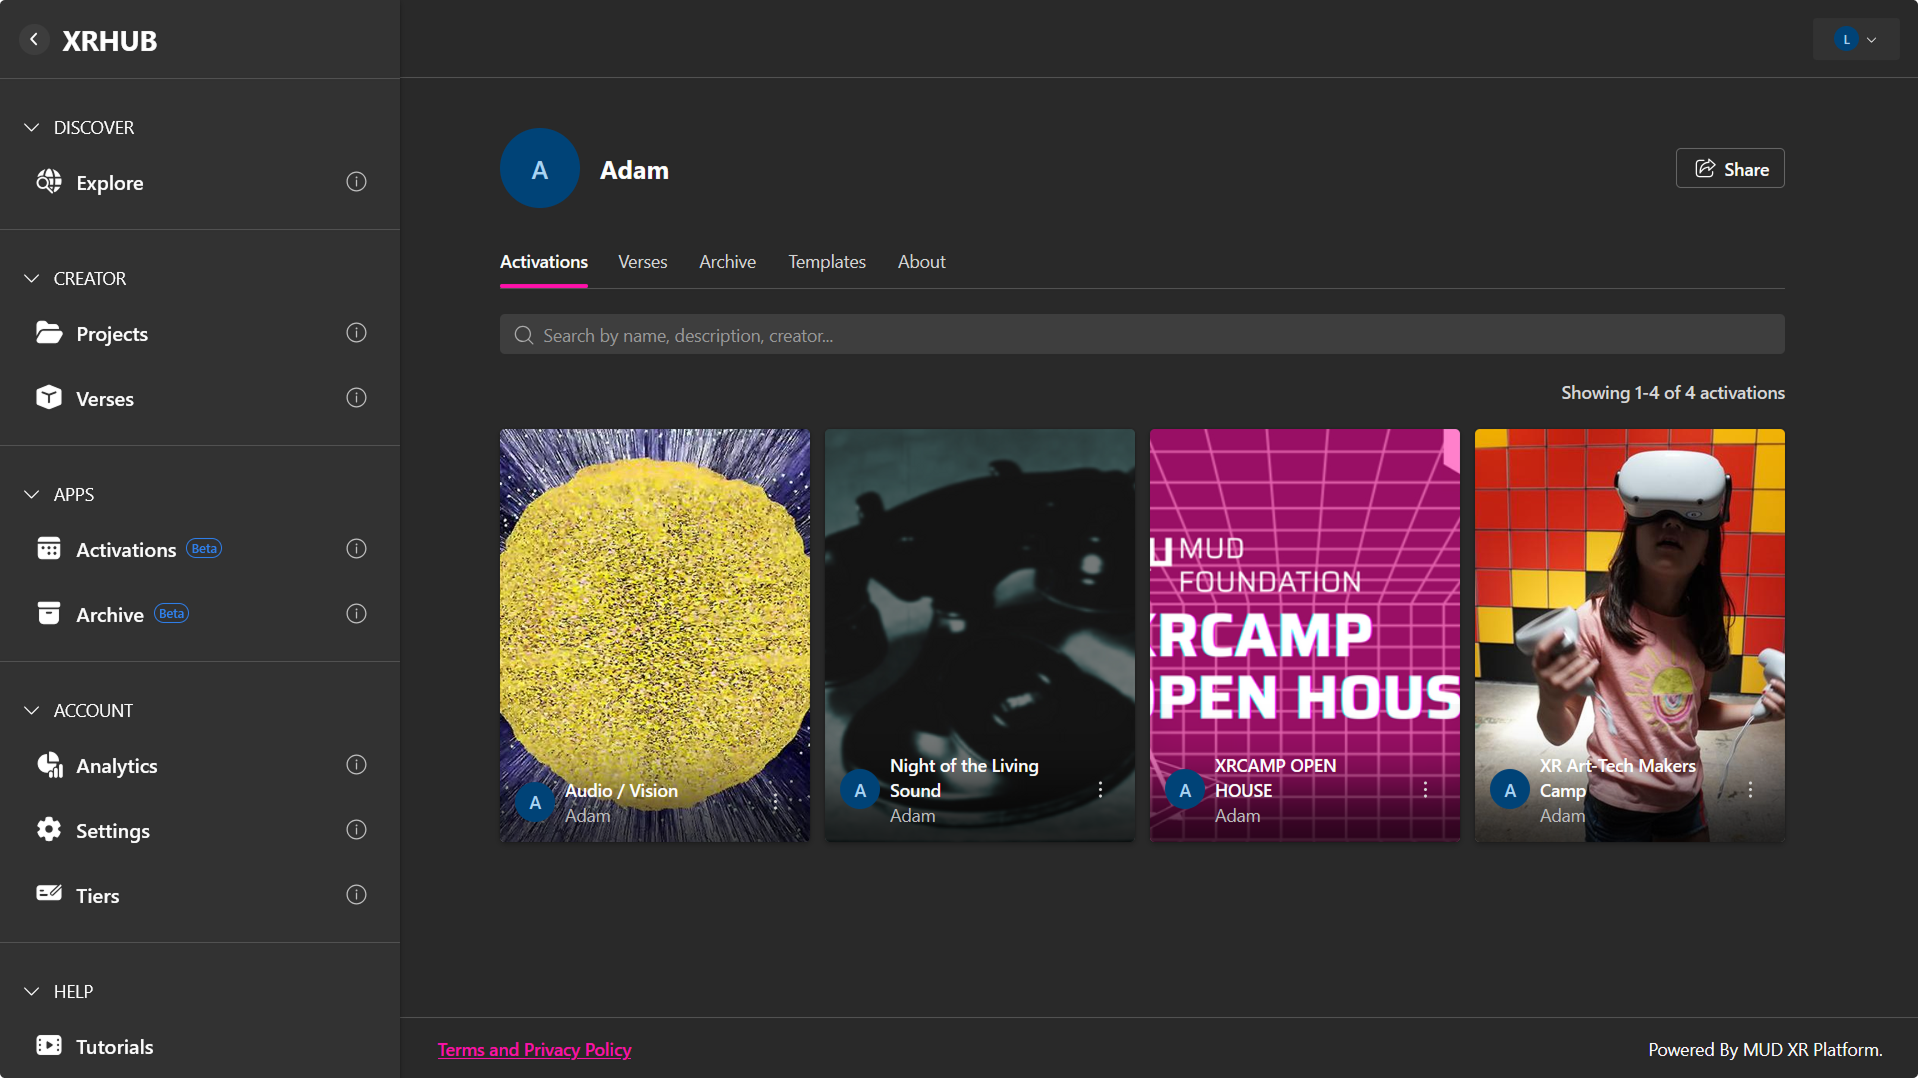
Public Profile View
Once your profile is published, other users can access it through your custom subdomain or a shared link. The public profile is organized into the following tabs:
Activations
Displays all published Activations associated with your profile. Visitors can browse, open, or share individual activations. Only items marked as PUBLIC are visible to other users.
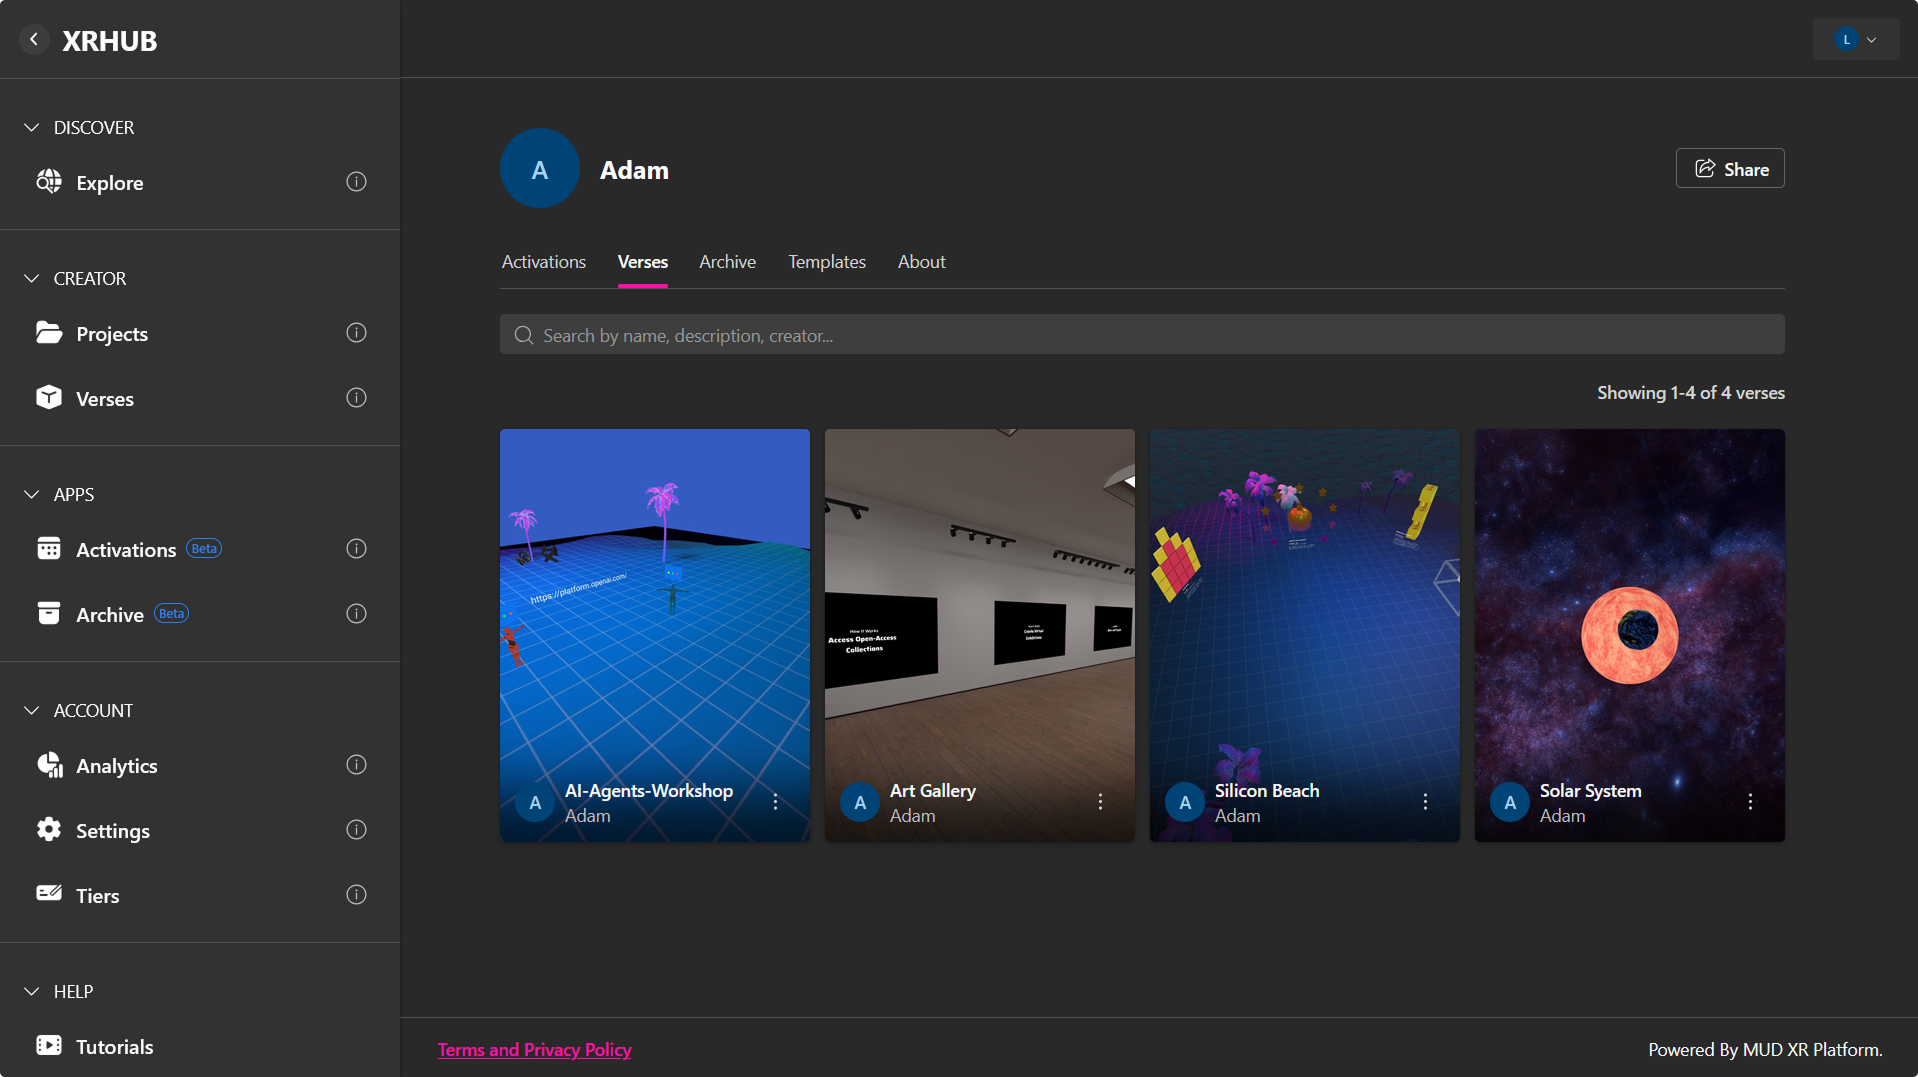
Verses
Shows all published Verses linked to your profile. Verses marked as PRIVATE are hidden from visitors; only PUBLIC Verses are accessible. Visitors can open or share available Verses.
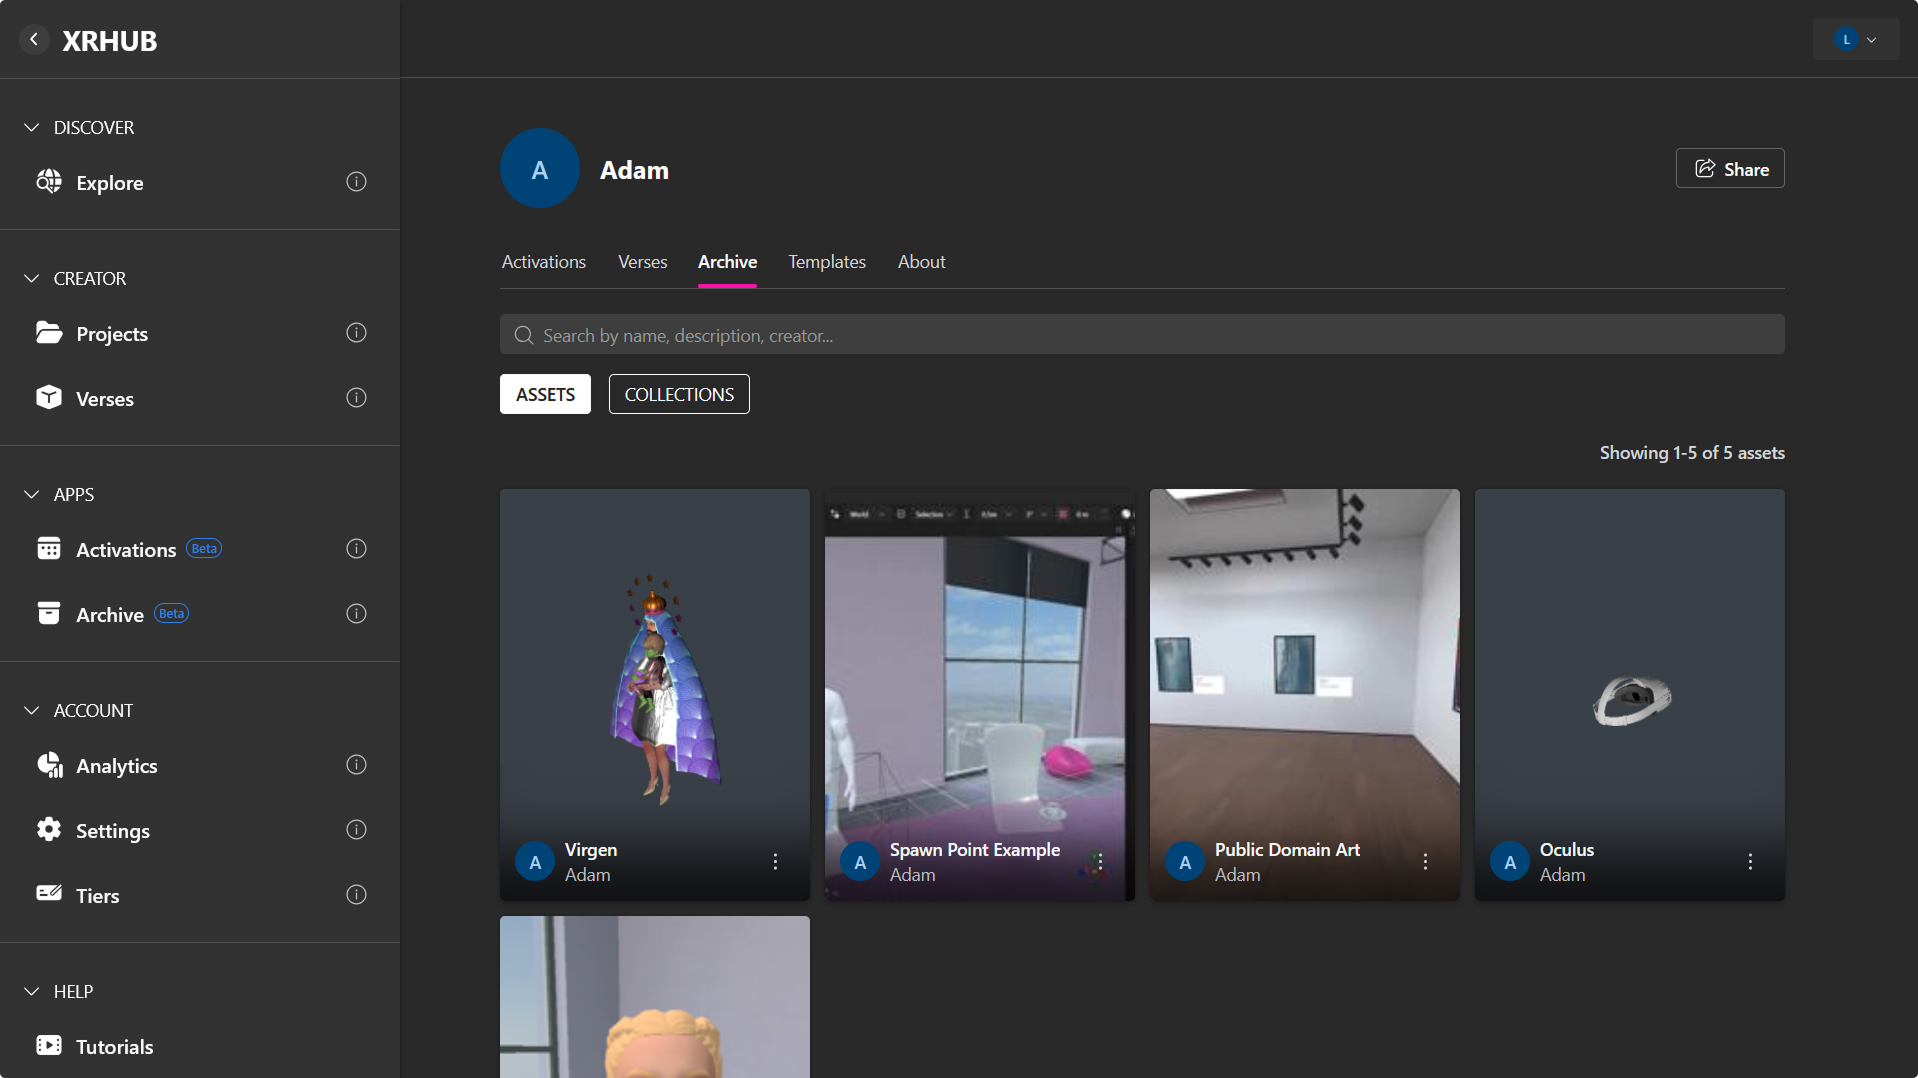
Archive
Displays published assets and collections from your Archive. Assets marked as PRIVATE are not visible to visitors. Only PUBLIC assets can be browsed, previewed, or downloaded (if downloads are enabled).
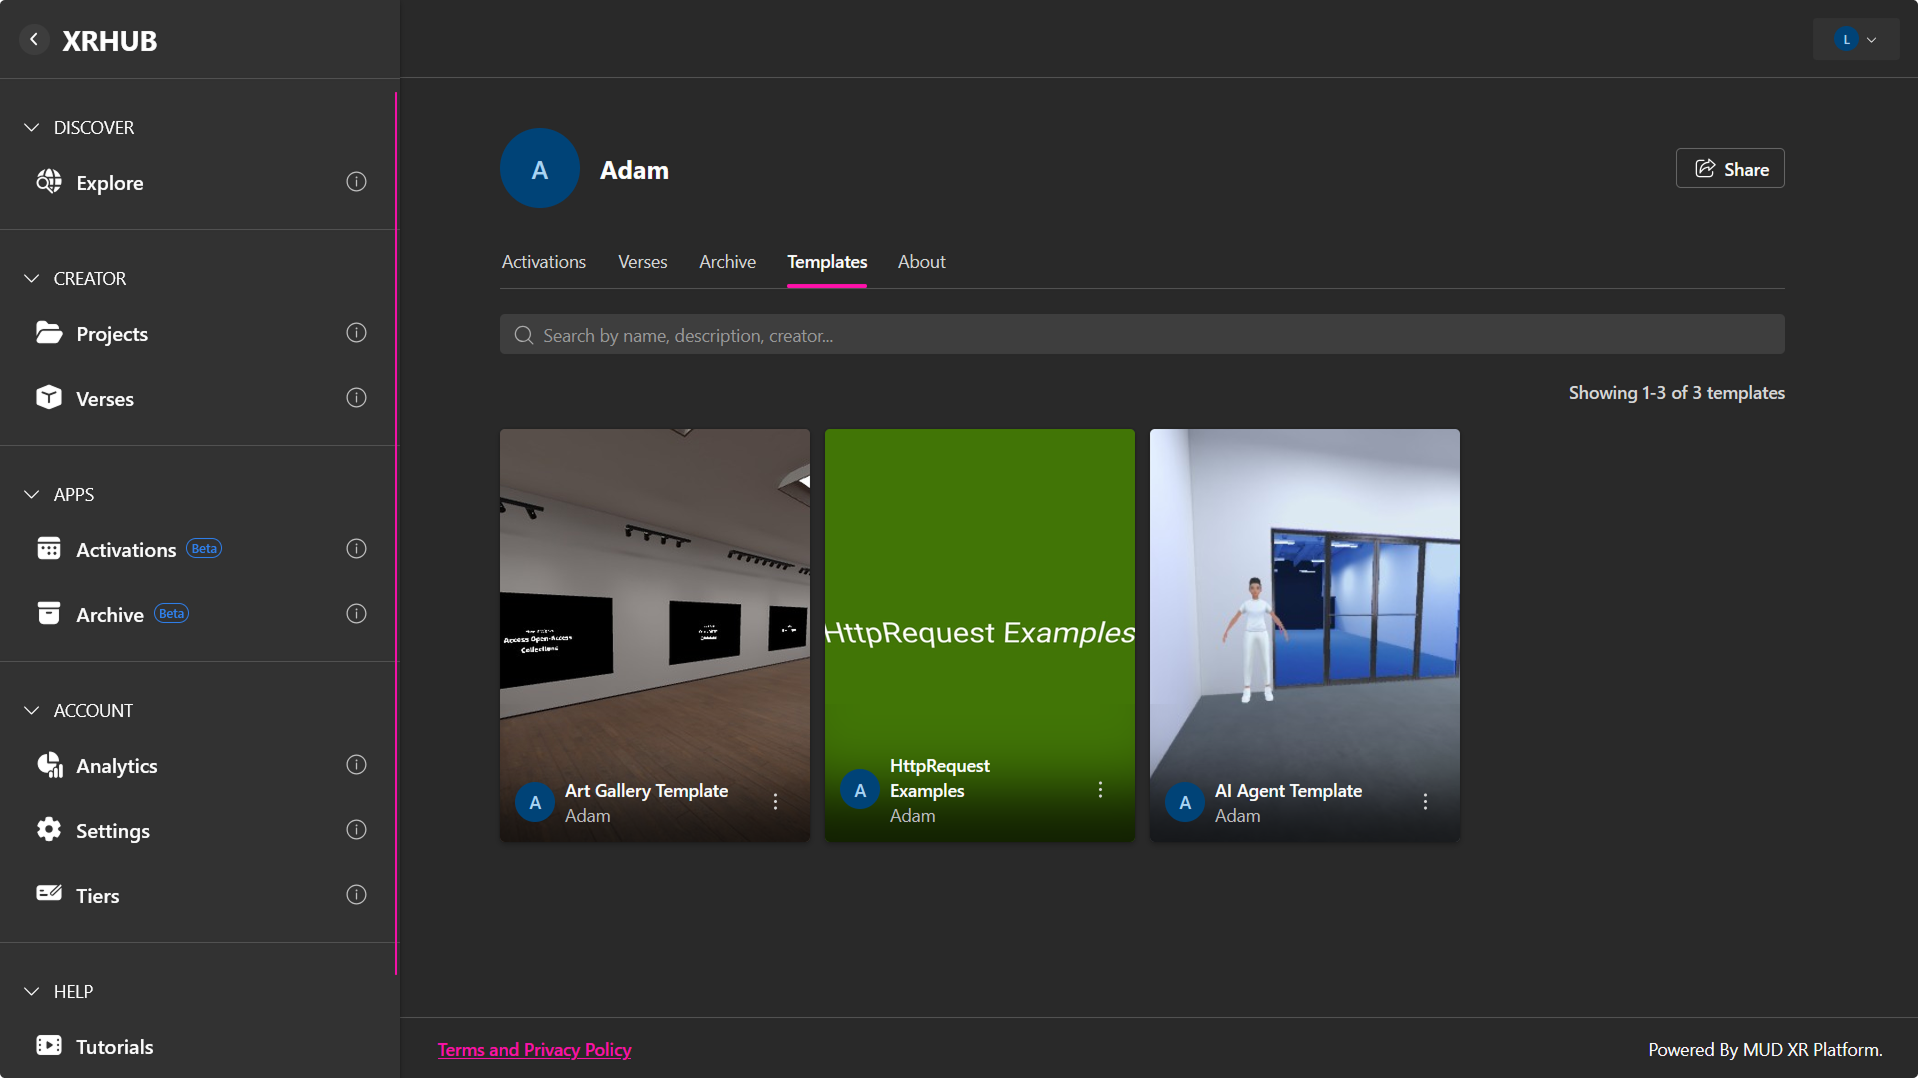
Templates
Lists published templates available on your profile. Visitors can browse public templates and use them to create new projects. PRIVATE templates are not visible.
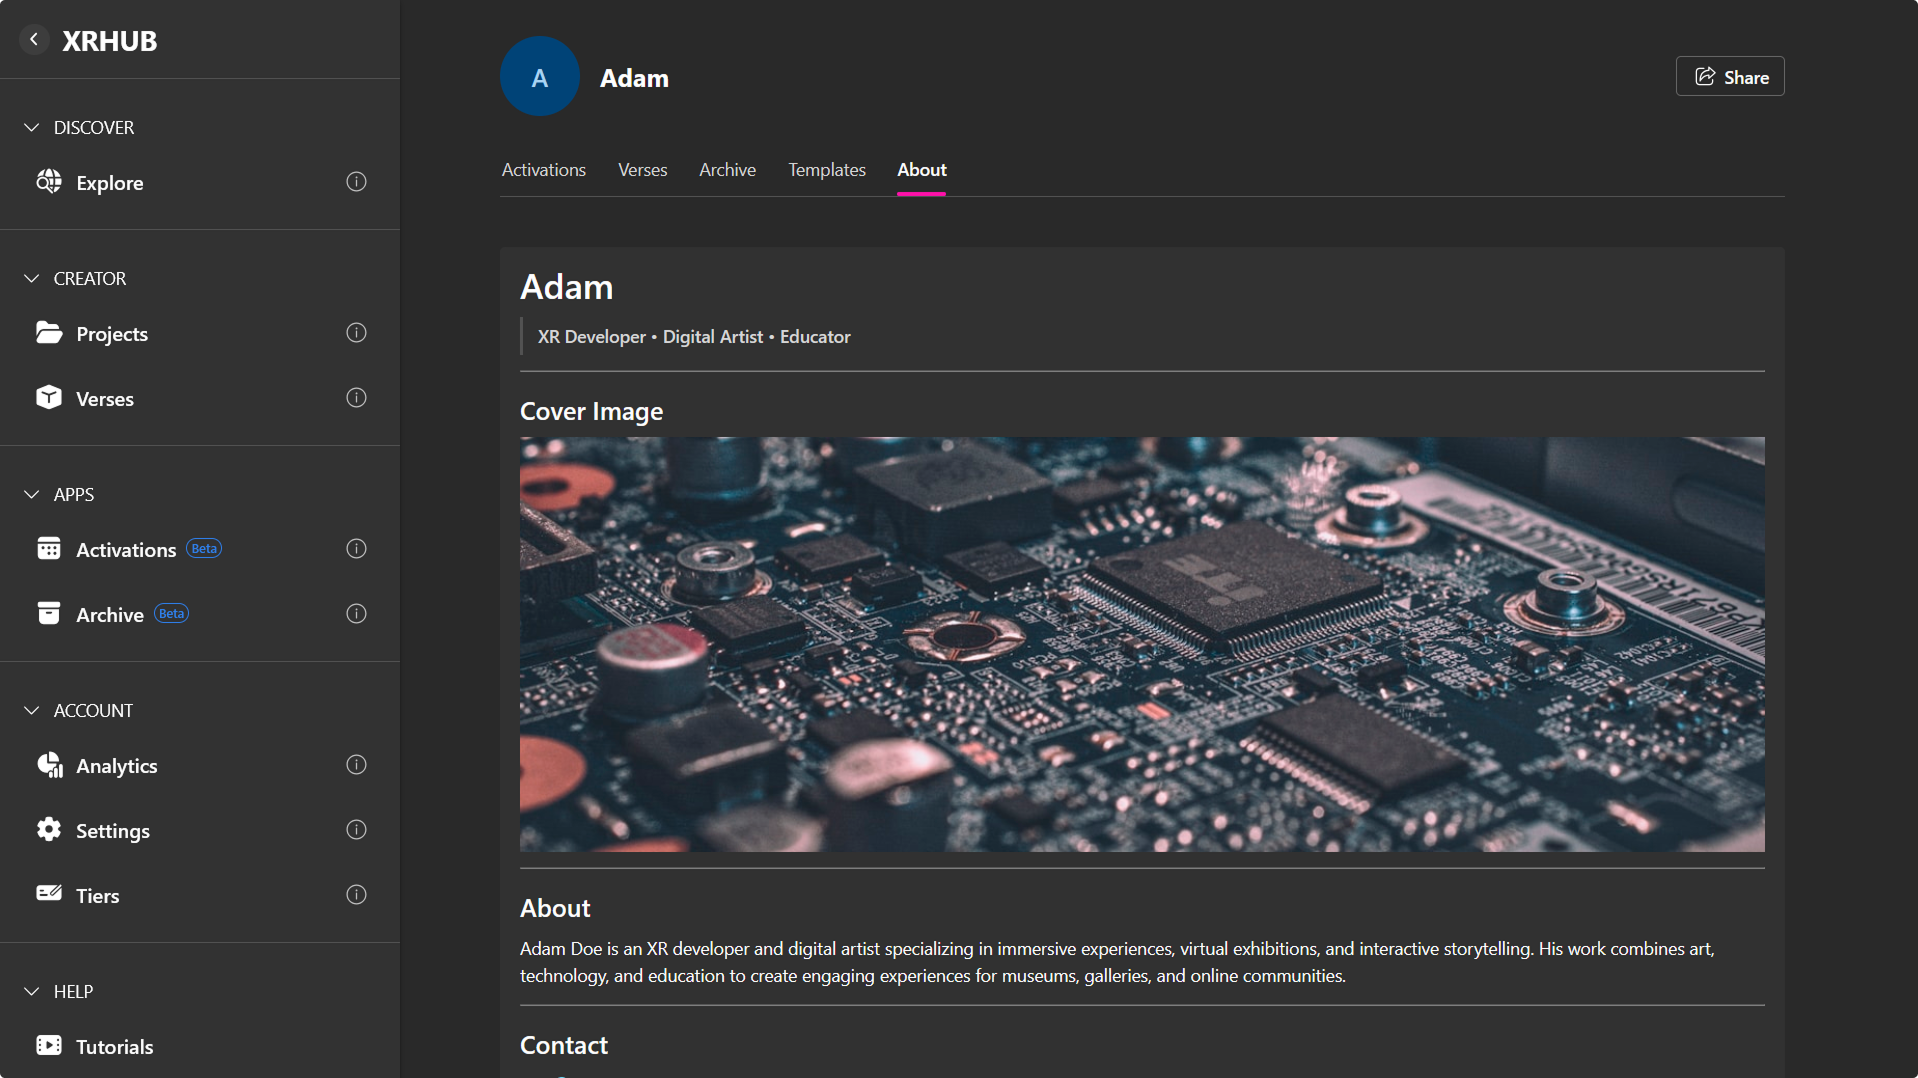
About
Shows the description and additional information you have added to your profile. Supports rich text formatting, including headings, lists, bold text, and images.
Branding Overview
The Branding section allows users to personalize how their profile and public pages appear.

Custom Subdomain
A custom subdomain provides a unique URL for your public profile or branded experience.
To configure it:
- Open Settings → Branding.
- Expand the Subdomain section.
- Enter your desired subdomain name.
- Enable or disable the subdomain using the toggle.
- Click Save Changes.
Once your subdomain is enabled, you can access it or share it by copying the URL from the Current Subdomain card.
Profile Social Card
The Profile Social Card is the preview image displayed when your profile or branded Explore page is shared on supported platforms.
To update it:
- In Branding, locate Profile Social Card.
- Upload or replace the image.
- Click Save Changes.
Brand Colors
Brand colors customize the appearance of supported interface elements.
You can configure:
- Primary brand color
- Button highlights
- Links
- Accent colors used throughout your branded pages
To update:
- Click Choose Color.
- Select your preferred color.
- Save your changes.
Note: For more information about what you can do with a custom subdomain, see the dedicated section in the Custom Subdomain page.
Subscriptions Tab
The Subscriptions tab shows your current usage limits, active subscription products, and past activity.
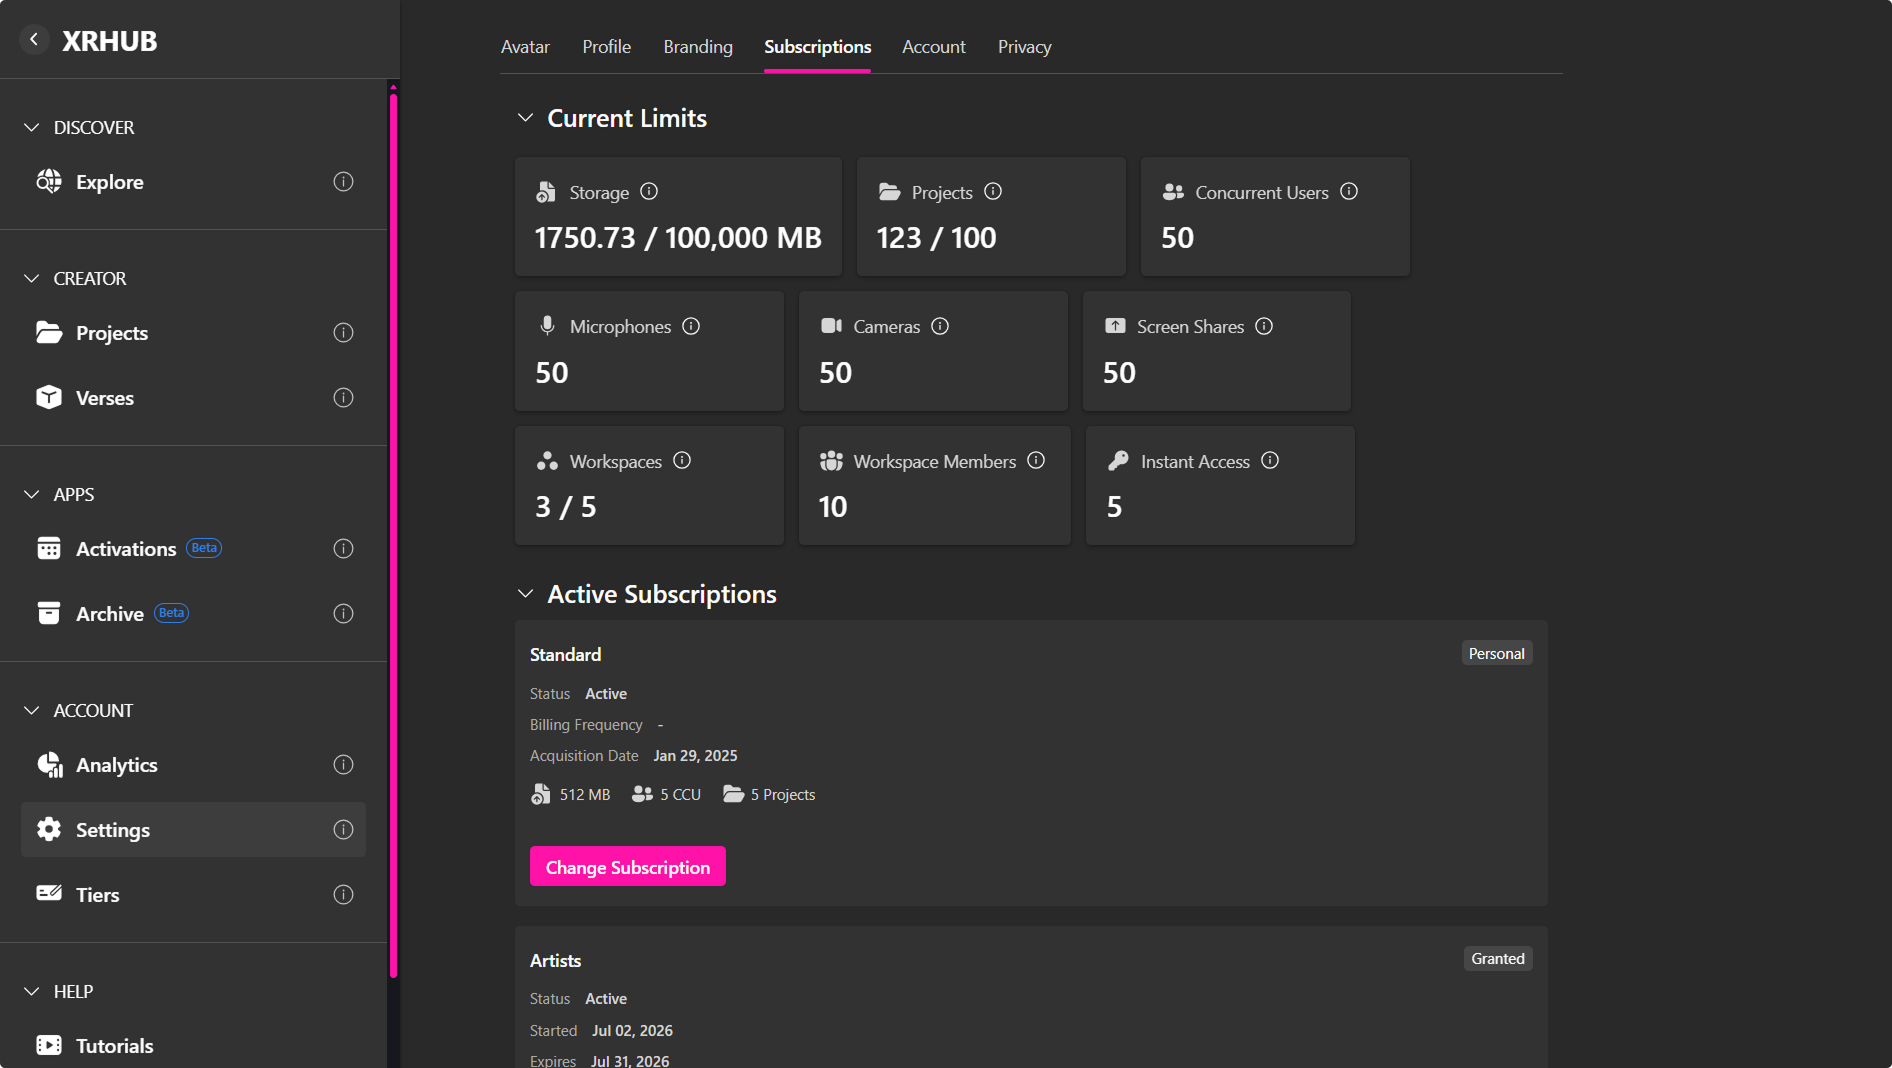
Current Limits
The Current Limits section summarizes how much of the platform you can use:
- Storage – How much upload space you have for assets.
- Verses – How many verses you can publish.
- Concurrent Users (CCU) – How many users can be online at the same time in your verses.
Each card will either display Limits disabled (no enforced cap) or show specific numbers (e.g., 512 MB, 2 CCU, 2 Verses).
Active Subscriptions
Below your limits you’ll see a list of your Active Subscriptions, typically based on the products you’ve purchased.
For each subscription you can see:
- Product name
- Status (Active, Expired, etc.)
- Billing frequency (if applicable)
- Acquisition date
- Included limits (Storage, CCU, Verses)
Use Change Subscription to open the subscription picker or storefront, where you can switch to another product if available.
History
The History table lists past subscription activity, including:
- Date – When the change occurred
- Product – The product or plan name
- Price – What you were charged
- Status – Active, cancelled, or other
- Charges – Any recorded amounts for that event
This gives you a simple audit trail of your subscription changes.
Account Tab
The Account tab covers account-level and data-related options.
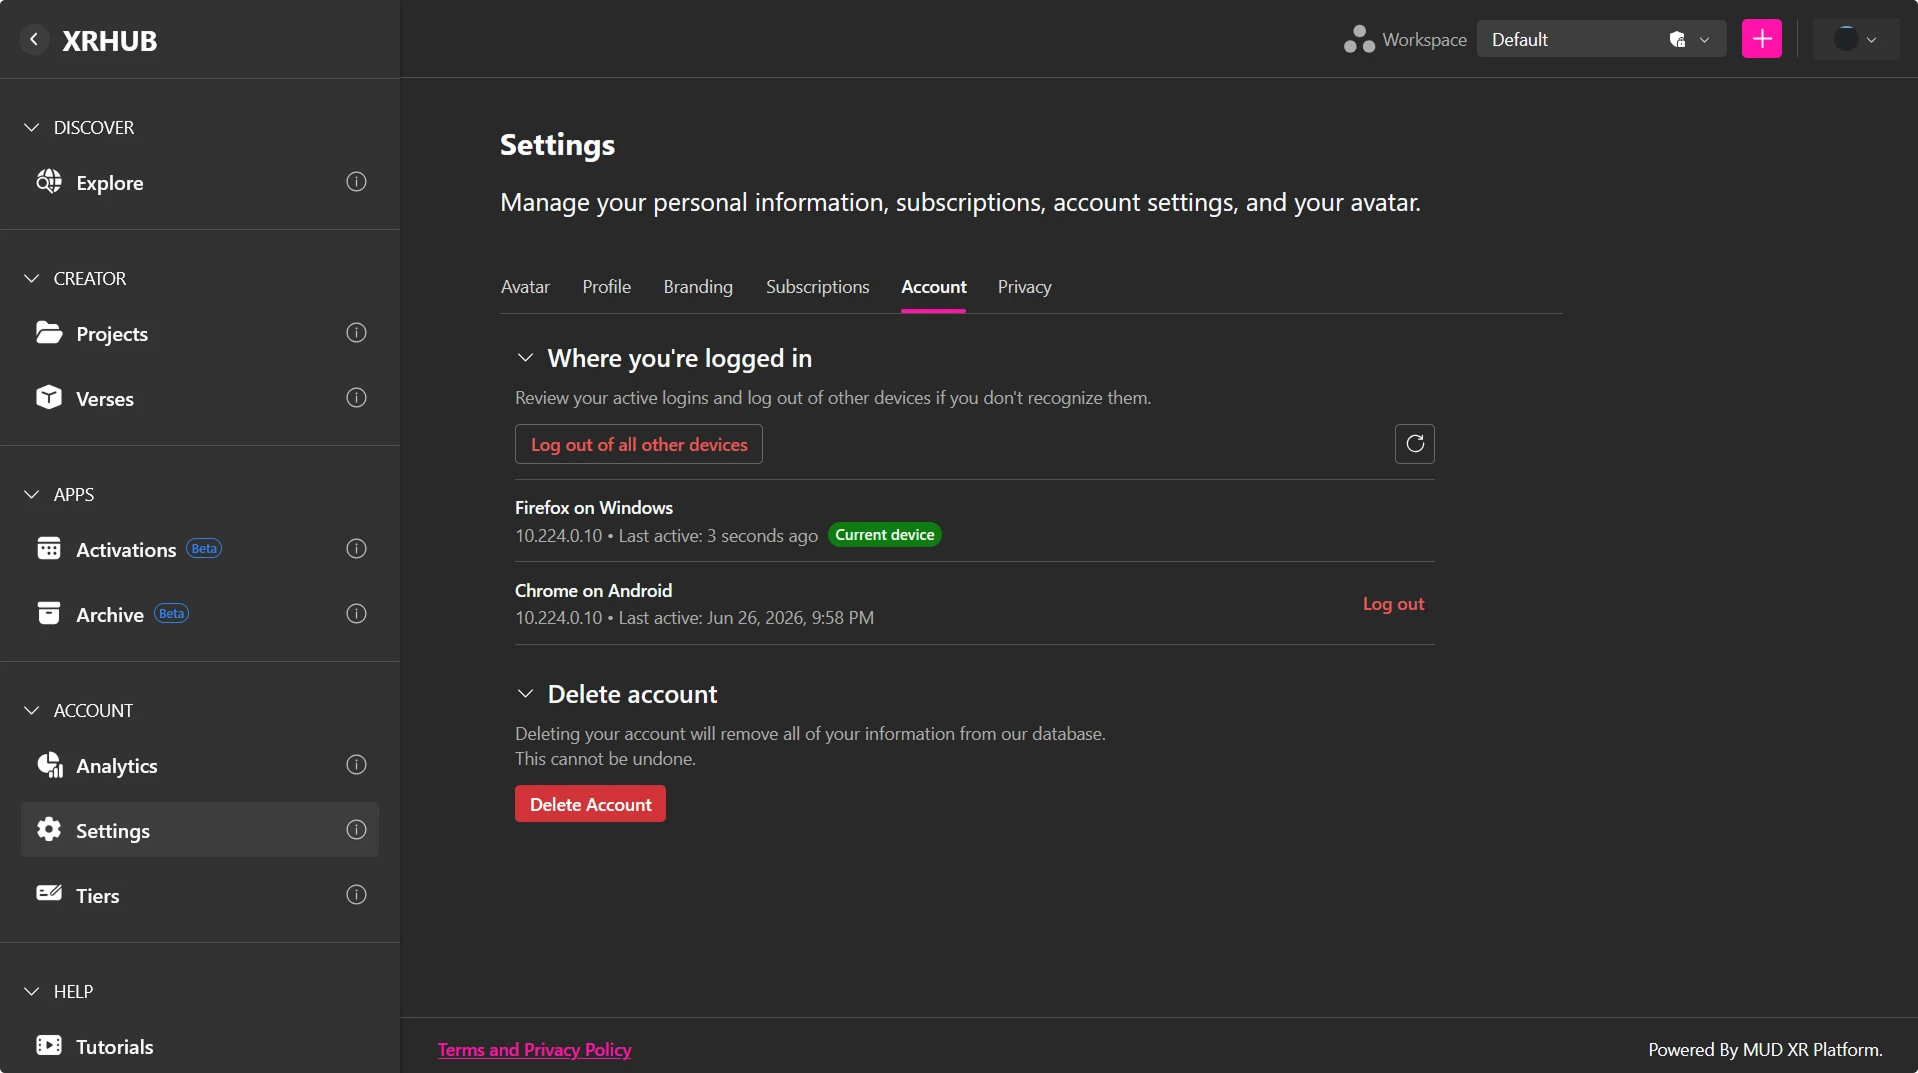
Where You're Logged In
The Where You're Logged In section displays all active sessions associated with your account.
For each session, you can view:
- Device or browser name
- IP address
- Last activity timestamp
- Current device indicator
Refresh the Session List
Click the Refresh icon to reload the list of active sessions.
Sign Out of a Single Device
To end a specific session:
- Locate the device in the session list.
- Click Log out next to the session.
- The selected device will be signed out immediately.
Sign Out of All Other Devices
If you believe your account is signed in on an unrecognized device, you can end every session except your current one.
To do this:
- Click Log out of all other devices.
- Confirm the action if prompted.
Your current session will remain active while all other sessions are terminated.
Delete Account
From here, you can permanently delete your XRHUBaccount.
When you choose Delete Account:
- A confirmation dialog appears explaining that this action cannot be undone.
- You’ll be prompted to request a verification code, which is sent to your email.
- Enter the 6-digit verification code in the dialog.
- Confirm by clicking Delete Account.
Deleting your account will remove:
- Your profile and personal information
- Your projects, scenes, and related content stored on XRHUB
This is a permanent, irreversible action. Once completed, your data cannot be recovered.
If you do not wish to proceed, choose Cancel to close the dialog without making changes.
Privacy
The Privacy tab allows users to control how their profile and information are shared across the platform.
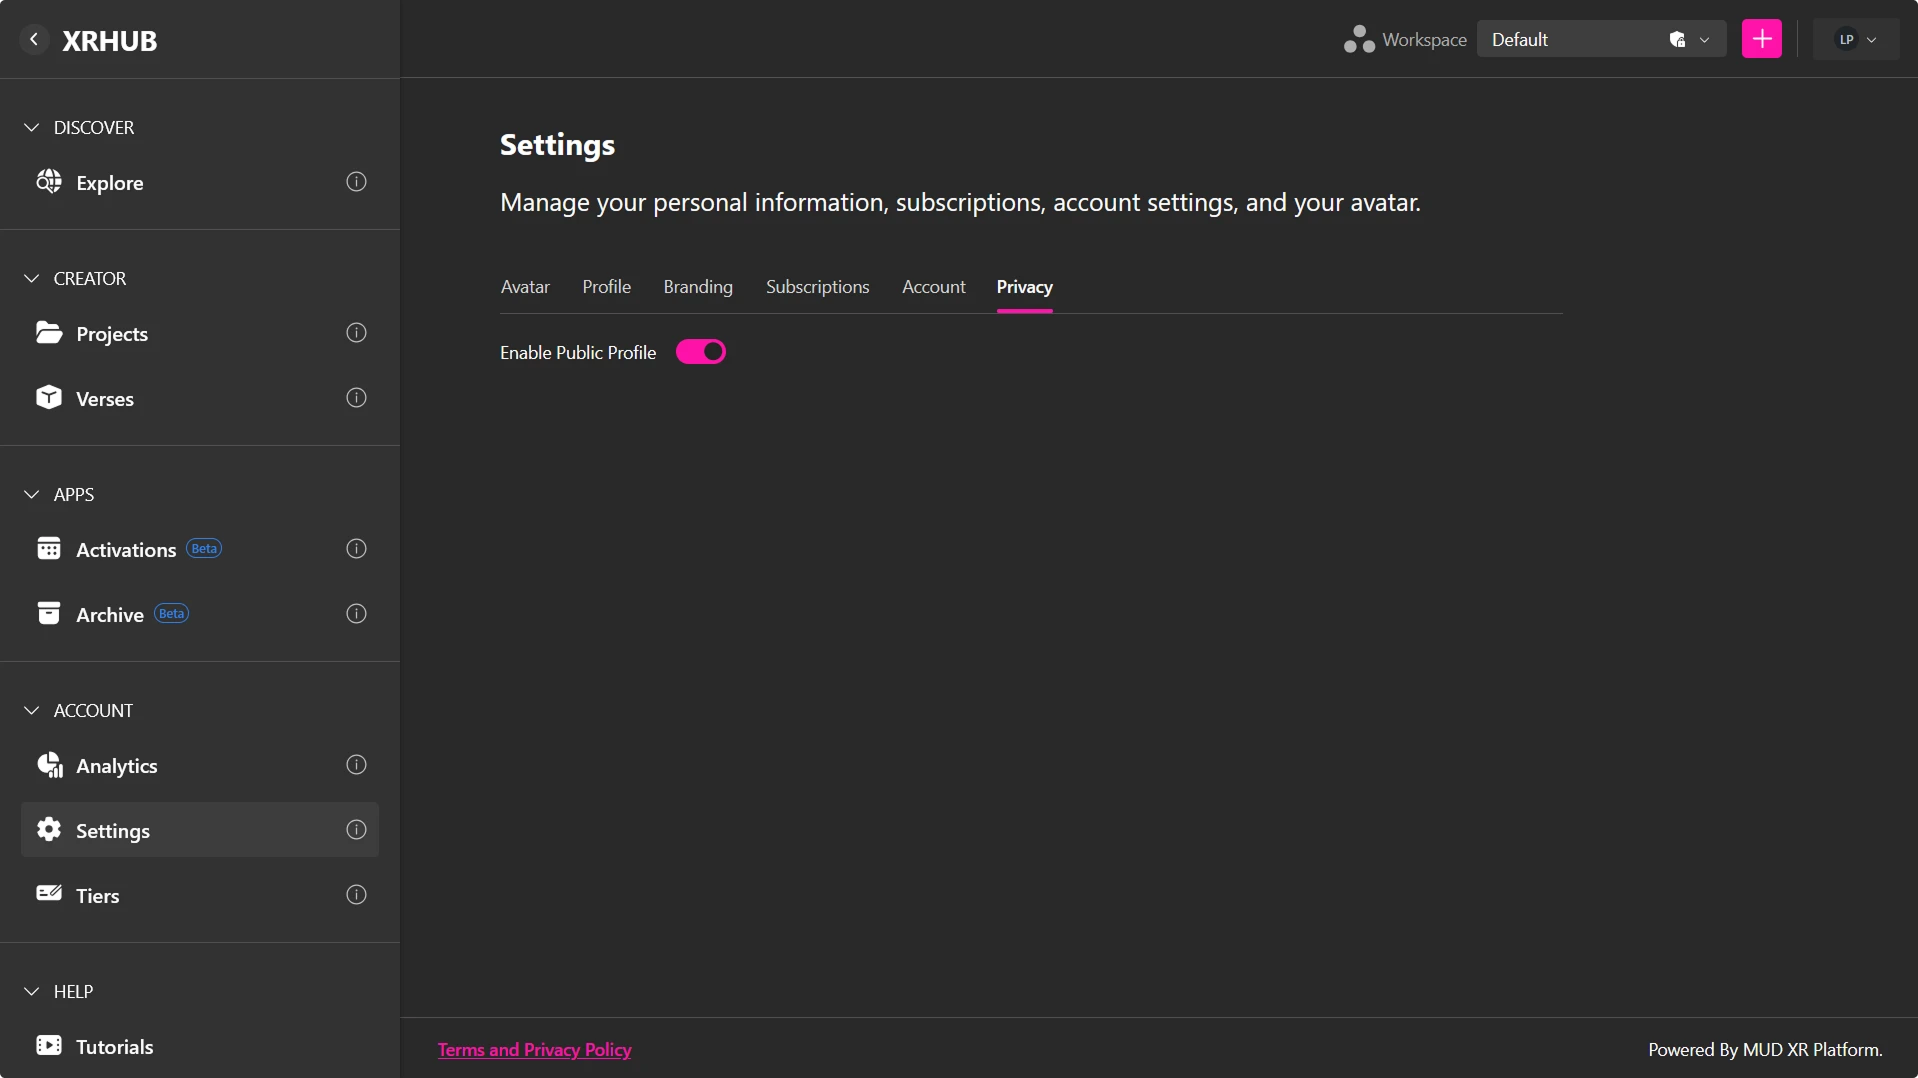
Available options may include:
- Manage profile visibility.
- Configure who can view your profile.
- Review privacy preferences.
- Update data-sharing settings where applicable.
- Save your changes.
Note: Privacy options may differ depending on your organization's policies and platform configuration.